How exactly does one end up with ugly fabric?
It’s usually a gift or part of a bundle.
Maybe you bought it for a specific project and don’t know what to do with what’s left of it.
Sometimes we just outgrow that fabric we used to love.
And let’s not forget about all those impulse fabric buys we always end up regretting.
I keep saying that sewing and quilting are magical, here’s my chance to prove it!
Is this even possible? Let’s find out!
What To Do With Ugly Fabrics
So let’s brain storm some ideas for using ugly fabric.
Because the truth is, even if you think the fabric is ugly, there’s still plenty of things you can do with it to put it to good use.
There’s no need to throw away fabric just because you think it’s ugly.
Here are 5 ways to use ugly fabric in a way that will actually make you happy you have it.
Ugly Fabric Idea #1: Cutting It!
I heard very early on in my quilting journey that if a fabric is ugly, you just haven’t cut it small enough and that is the most brilliant piece of advice as far as ugly fabric goes that I’ve ever heard.
And if that doesn’t work we can just cut them even smaller!
Then, all you need to do now is mix them up with other fabrics until you’re happy with it.
Ugly Fabric Idea #2: Practice Makes Perfect!
For me personally, I have a much harder time dealing with ugly colors than ugly patterns.
For one thing, the patterns can get deconstructed but the colors will always remain ugly.
For example, I have a thing with brown and yellow ochre too, I just don’t know how to use them in quilting, they never look good to me.
So if I had fabric in those colors I would probably use them for practice!
A difficult pattern, a new technique, you know, for free motion quilting patterns I wanted to test out, it’s actually the perfect fabric to use and it’s a really big help!
Ugly Fabric Idea #3 : Hiding it!
You can also hide the fabric, it can be lining, backing, thin binding or to make hanging sleeves.
If you don’t know what that is, it’s a strip of fabric you add to a quilt you want to hang on the wall to make sure that quilt will look perfect once you hang it.
It’s never going to be seen so it’s a perfect way to sew ugly fabric for beginners.

There’s plenty of other ways to hide ugly fabric, you can use it as foundation for any stitch and flip projects or for making scrappy fabric like we’ve done a couple of times.
I use it as foundation fabric and then just add on a top layer to hide it.
Perfect!
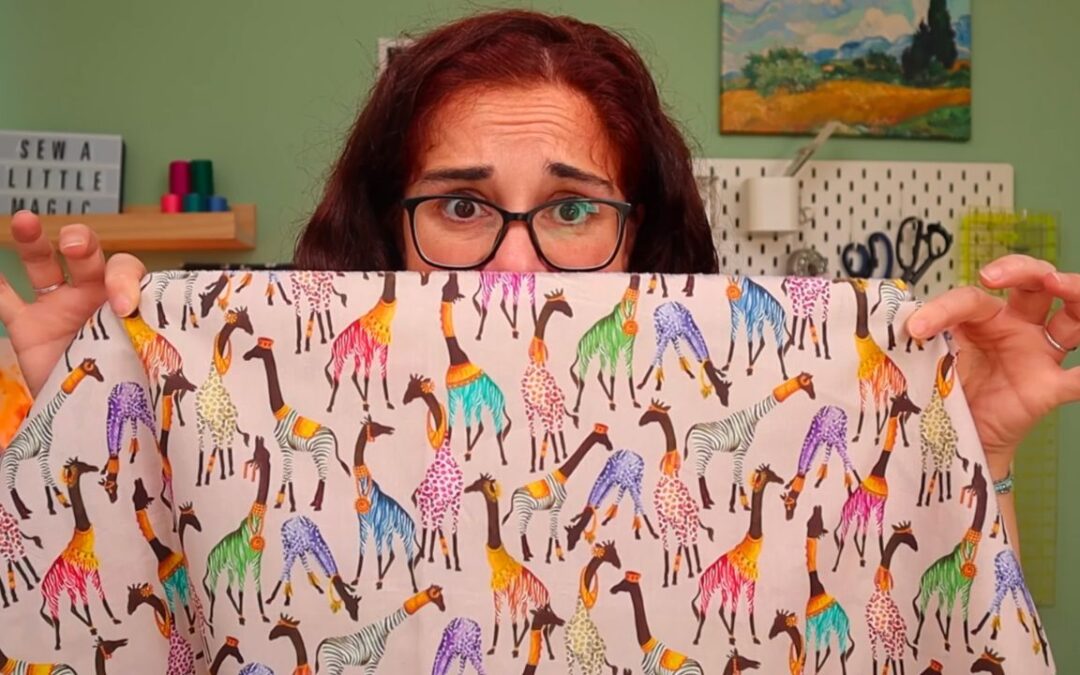
Ugly Fabric Idea #4 : Embrace it!
You can, of course, do what we’re doing here today, you can embrace the quirkiness… the ugliness?
Call it whatever you want.
You can do some abstract designs for example and I have to say I’ve made many crazy quilt blocks over the years and I’ve never seen a fabric that didn’t work great for that, ugly or otherwise, it just works!
Another very clever way to make ugly fabric look good is to add stuff to it.
You can applique something, you can quilt it with a beautiful pattern or something to that effect.
For example, we could use any fabric just as it is, but where’s the fun in that?
Let’s get quirk by cutting them diagonally or in a weird shape.
You can even make wavy patterns but it will make life harder for you when you’re sewing them back together.
Your creativity is truly the limit!
Ugly Fabric Idea #5 : Put it To Good Work!
There’s plenty of room in our lives for ugly quilts.
Quilts are useful and warm and cozy no matter what they look.
So maybe an ugly quilt isn’t something you want decorating your home or being seen by others, but you can always use it on a cold night and I guarantee your pets will love it no matter what it looks like.
Pets are crazy about quilts so maybe add it to their beds or use it when you’re taking them for a ride, to protect your car seat.
Or maybe just donate it, for homeless people or whomever needs it.
It’s ugly to you but someone else may see it and love it and it will be of so much use either way!
Ugly Fabric Challenge!
Now, I don’t want you to think I’m just saying all of this for argument sake.
In fact, I’m ready to take on my own ugly fabric challenge and try and make something that actually looks good.
Because sometimes, the whole is more than just the parts it combines.
And that’s my purpose, that once I’m done, what I’ve created won’t look like a bunch of ugly fabrics thrown in together, but something else, entirely new.
So let’s make something gorgeous with some ugly fabrics that I bought.
Ugly Fabric Project Supplies
- The ugliest fabric you can find
- Rotary Cutter
- Rotary Blade
- 24” x 24” Quilting Ruler
- Cutting Mat
- Mini Iron
- Ironing Wool Pad
- Basic Sewing supplies: Pins, needles and thread
- ¼ on an inch foot (sewing machine)
Ugly Fabric Project Requirements
For this pattern, I’ll need:
- strips of ugly fabric
Step 1: Pick your ugliest fabrics

Ok, go ahead and get your ugliest fabric to start our ugly fabric challenge.
You know the ones I’m referring to, those fabrics you hide at the bottom of your closet and refuse to look at.
The fabric you haven’t thrown away because… well… it IS fabric…
That’s the one we’re using today!
Step 2: Cut the fabric into strips

We’re starting by cutting some 2.5 inch strips.
This is the size I’ve chosen because it’s thin enough to hide any ugly patterns but wide enough to make something out of it without having too much work.
Step 3: Sew the strips together

And now we need to sew pairs of strips together.
So combine two strips at a time in a way that they have a great contrast with one another.
Step 4: Cut the strips into squares

Now we take our strip pairs and we turn them into squares.
In this case, my strips sewn together are 4.5 inches, because I lost 0.5 inches to the seam allowance.
So I’m going to cut 4.5 inch squares.
Step 5: Cut the squares in half
Now, this may just be the boldest thing I’ve ever done.
I’m going to cut all my squares in halve, in one swoop, diagonally.
I’m not using any sort of calculations, I’m just placing my ruler over the square pile and cutting away.
And the reason why I wanted to cut all of them at once is because I want them all to be cut equally…
Step 6: Combine the halves

…Because my next step is combining my halves.
So I’m taking the lower half of one fabric pair and I’m combining it with the top halve of another fabric pair.
That’s how I dilute my ugly fabrics and blend them all into something else, something completely different.
Step 7: Sew the halves together

Time to sew our half squares together.
This may prove a bit difficult because the cutting was done kind of free style, so do it at a pace that’s comfortable for you.
Remember, after these halves are sewn, we still need to have squares.
Step 8: Press the halves

Now that our halves have turned into squares again, it’s time to press them nicely.
We want these seams to be as flat as we can possibly make them.
Step 9: Build the puzzle

Because now is the time to build out final puzzle.
We just combine our squares as nicely as we can, making sure we don’t have the same fabrics touching.
Fully expect a crazy, kind of wonky puzzle. It doesn’t have to make sense, it just needs to blend seamlessly.
Step 10: Sew the squares together

One final sewing to make sure all our squares are nice and bound together.
As usual, I’m doing rows first and then columns.
Step 11: And that’s it!

My ugly fabric quilt top is done and I’m quite happy with it.
I think I managed to complete my objective, to take a bunch of fabrics that were ugly and didn’t really work together and turn them into something else that’s actually nice to look at.
It’s quirky, colorful and cute.
Watch the full tutorial!
Guys, how much fun was that?
And how easy was it to turn a bunch of ugly fabrics into something pretty?
And if you want to watch the video of this ugly fabric project getting made, here it is!
Most Recent Projects
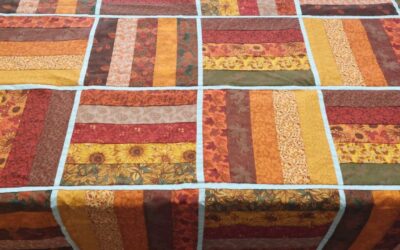
Incredibly Easy Stained Glass Quilt Pattern for Beginners
Today I’m making a stained glass quilt top. But...
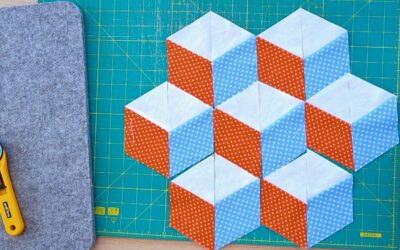
How to Make 3D Tumbling Quilt Blocks (No Y-Seams)
Today we’re a making tumbling blocks! And that...
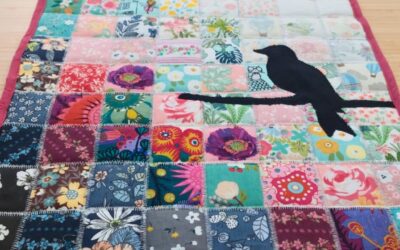
Easy Watercolor Quilt Pattern Ideas
Today I'm making an easy watercolor quilt...

About Me
I am a content creator, designer and maker of quilts and a hopeless cat lady. Being able to share all I know with you is a kind of magic I have never experienced before!