Today we’re making the most unique scrappy quilt block pattern ever! If you blink you’ll miss it. It’s that quick and simple to make.
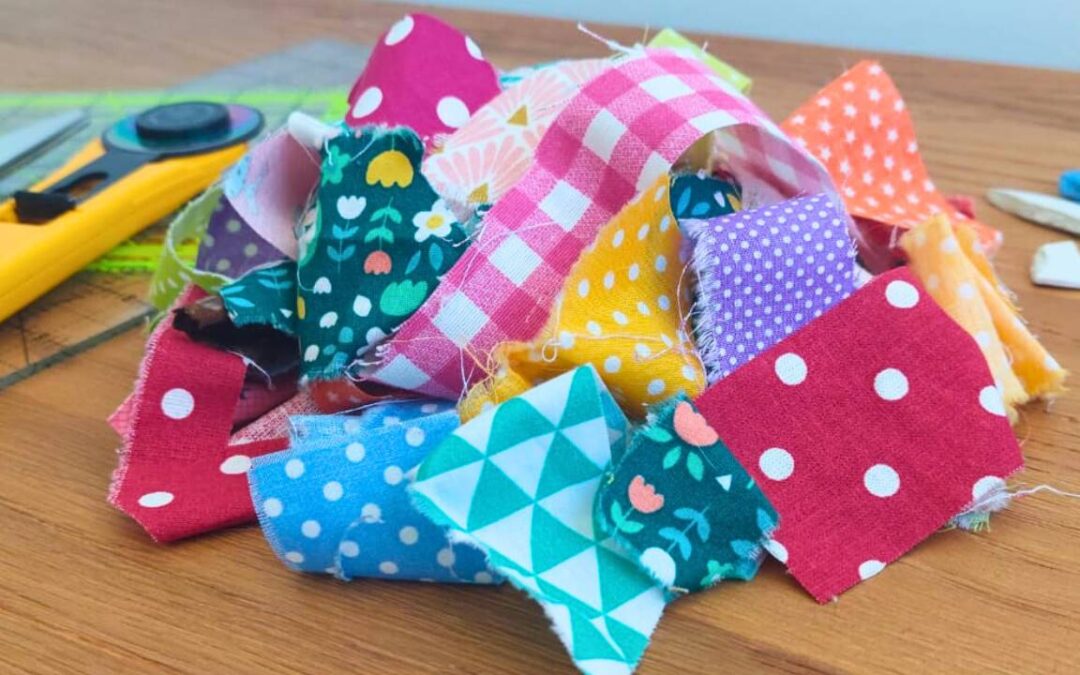
Get your leftover fabric scraps ready because we’re going to need them!
How to Make Beautiful Scrappy Quilt Block Patterns
I mentioned a pattern but there is actually no pattern, you don’t need one.
That’s how awesome this is! Also, it means you get a one of a kind quilt block , there is no way you’ll be able to make two exactly alike and that’s just perfect as far as I’m concerned…
The only thing we need to know when we’re picking fabrics for this is we want them to go together, that’s it!
No worries about sizes or shapes…
Amazing Idea for Using Your Fabric Scraps (Even the Tiny Ones!)
Dealing with leftover fabrics is annoying and time consuming.
Because quite honestly, it’s easier to cut into big pieces of fabric than waste time going through a fabric stash pile (or bag or box?) looking for what we want.
But fabric scraps aren’t waste! More and more I see each tiny piece in my scrap stash as precious and valuable.
That’s why I keep looking for more scrap fabric ideas I can share with you guys to make sure you don’t throw away fabric scraps ever again.
Plus, there are a LOT of fun to work with, let me show you…
Today, I’m showing you how to make a beautiful (and unique!) scrappy quilt block pattern.

You can create so much from fabric scraps, even the tiniest crumb of fabric is useful! We can make whole quilts, clothes, even yardage of fabric!
And today we’ll be making an easy DIY pillow cover.
But not just any pillow cover, we’re making a beginner level pillow cover that will be so much easier to make than you ever imagined!
The Perfect Scrappy Quilt Block Pattern Sewing Project
As far as sewing projects to use up your leftover fabric go, this one is as easy as it gets.
I will be using the quilt as you go method, also known as the flip and switch method.
And what that means is, instead of sewing the quilt block top together and then adding it to the rest of our sewing project, we’re going to be sewing directly onto some fabric.
We do this in order to make sure that the inside of the pillow is nice and straight instead of showing unruly seams.
But also because it gives the whole thing more stability and because we will be using some tiny pieces of fabric, we’ll need stability.
Also, I refer to the pillow cover top as a quilt block because essentially, that’s what it is, a quilt as you go quilt block.
You can take this beginner level tutorial and use it to make a simple, quilt as you go quilt!
This is the easiest scrappy quilt block pattern to sew if you’re a beginner!
Scrappy Pillow Case Supplies
- Several scraps of colorful fabric
- White fabric
- Fabric for the back of the pillow
- Rotary Cutter
- Rotary Blade
- 12” x 6” Quilting Ruler
- Cutting Mat
- Mini Iron
- Ironing Wool Pad
- Basic Sewing supplies: Pins, safety pins, needles and thread
- Any regular foot (sewing machine)
Disclosure: some links are affiliate links. As an Amazon associate, I earn from qualifying purchases, at no extra cost to you.
Scrappy Pillow Cover Requirements
This project is divided into 2 parts.
The first part:
- 18×18 inch square of white fabric
- enough scraps to cover it
The second part:
- 2 18×15 inch rectangles for making the envelope of the pillow cover
Step 1: Sorting the fabric

Okay, let’s get our scrap pile. We’re looking for a cute center fabric and them some small leftover fabric scraps to sew around the center.
Think of it as a flower, center with some small petals around it.
And, as we grow our flower, the petals will get bigger and bigger.
I want this to be nice and colorful, so I need fabrics that contrast nicely with each other.
And when we’re starting out, we don’t know how many fabric scraps we’ll need or how it will look once we’re done and that’s kind of my favorite part…
Step 2: Starting from the center

Okay, this is our white fabric square and it’s 18 inches because I want my pillow to look nice and puffy. Using a 20 inch insert on an 18 inch pillow cover allows me to pick a less expensive insert that are usually kind of empty.
Because the cover is smaller than the insert, I’ll still get a full, puffy look without having to spend extra.
Now, I like to start at the center of my scrappy quilt block, but it’s your choice, really.
Step 3: Laying out the scraps

Once we have our center in place, it’s time to start adding more scraps around it. Our petals!
And this is how to sew scraps 101 really, you just add a scrap making sure it’s at least the same lenght as the scrap you’re sewing it onto.
This is truly an awesome sewing project for beginners, you can’t go wrong with this!
Step 4: Changing the shape of the scraps

A very fun thing about this sewing project is you don’t have to keep your scrap shape.
In fact, it looks much better if you don’t!
Why keep a squared center if we can make it wonky? The whole project is about wonky scraps, we kind of need the center to match.
So yeah, everytime you have the perfect scrap to add but are debating it because you’ll need to change the shape of the scrap you’re sewing it onto, just do it!
It will look so much cooler!
Also, don’t forget to make your scraps bigger as you add the outer layers, it will make life so much easier for you!
Step 5: Filling all the spaces

Look at that guys, how precious is this? It’s all there, the big colors, the tiny little pieces that grow into larger ones, I love it!
As you get near the corners of your square, your scraps will be getting pretty huge!
But don’t worry, once all the surface of that square is covered, you can add extra scraps for the corners or maybe even thin strips from top to bottom!
What I mean is, just because all the space if occupied, it doesn’t mean you can add extra details on top of it!
Step 6: Presssing our quilt top flat

Once your top is done, you’ll want to press it completely flat.
In fact, I would advise that you press frequently throughout the whole project to make sure that your adding new scraps to flat fabrics to make sure it doesn’t get all wavy and weird.
And remember, we’re pressing not ironing so no shuffling the iron aroung because that can distrort our fabrics. Just press it in place, lift the iron and press again in another area until you’ve covered the whole thing.
Step 7: Trimming the pillow top

Naturally, you will have some excess fabric sticking out of your white square. Just trim it off.
No measurements required, just follow along the edge of your base square.
Step 8: And this is our scrappy pillow cover top

And here it is, our complete scrappy quilt block pattern. Our pillow cover top.
Do you notice how adding small leftover fabric scraps to the corners of the square, where those big fabrics were, makes all the difference?
If we hadn’t done it, you would get tiny fabric scraps in the middle and big solid fabric chunks all around.
This little detail makes such a big difference, it really balances the whole thing out!
Let’s make a pillow!
Step 9: Preparing the pillow envelope

If you’ve never made a pillow cover before, you probably think it’s a very complicated process, but it really isn’t!
Particularly this one that doesn’t need piping or a zipper or anything too fussy.
We’re making a simple envelope pillow cover. We’ve made the front and now we need the back. I’ve picked this cute squared fabric that kind of looks like a picnic table cloth.
We want an 18 by 18 inch pillow so we need our envelope pieces need to be 18 inches wide.
As for the height, because we want to add a seam allowance AND we want the two fabrics to overlap quite a bit, I’m making both pieces 15 by 18 inches.
Step 10: Making the seam allowances

Again, this really is a sewing project for beginners because there’s no measurement involved what so ever.
We need to create two seams, one on each piece of our envelope, for the sides that will be meeting in the middle.
AKA the sides that will be showing once our pillow is complete.
So what I do is, I vold our fabrics twice. And then pin them in place, you can also press them if you prefer. And then I sew.
Step 11: Making our envelope

For making the envelope, we place our pillow cover front on our working table and then we cover it with the two back pieces, right sides together.
We want the seams for these pieces to face the middle of the pillow cover and we want them to overlap nicely.
If we make this two tight, the envelope may open once we put the larger insert inside the cover and the whole thing will look very messy.
Step 12: Sewing the scrappy quilt block pattern pillow cover

And now it time to sew for the very last time! We sew all around our square, with the back pieces firmly in place.
We reinforce our seams there the two back fabrics meet to make sure that we won’t rip the seam when we’re adding the insert.
And that’s it!
Step 13: Turning the pillow cover inside out

Now it’s finally time to turn our pillow cover inside out carefully.
Make sure to pull the corners out nicely, maybe using a pen or another pointy tool that can help you push them out.
Step 14: Stuff the pillow cover

And here we have it guys, our scrappy quilt block pattern is done!
Our NEW handmade pillow cover ready to be used…
All there’s left to do is to add the insert, kowing that it will be a bit bigger than the cover, like I’ve mentioned.
If you’re using an insert straight from a bag, don’t forget to shake it around to gain some much need air before adding it to our pillow cover.
Watch the full tutorial!
And that’s it guys, the easiest, quicker, funnest scrappy pillow cover ever!
How awesome was that?
If you want to watch the video of this quilt top getting made, here it is!
Most Recent Projects
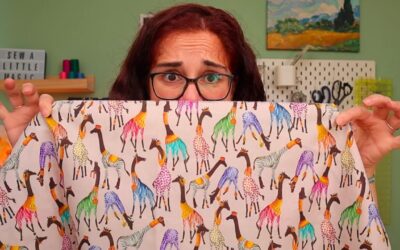
Incredibly Easy Stained Glass Quilt Pattern for Beginners
Today I’m making a stained glass quilt top. But...
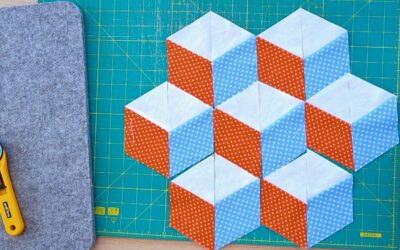
How to Make 3D Tumbling Quilt Blocks (No Y-Seams)
Today we’re a making tumbling blocks! And that...
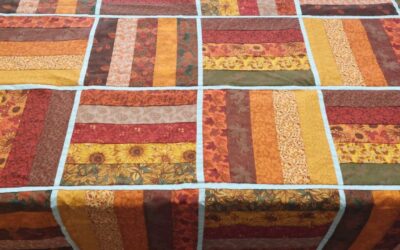
5 Practical Ways to Use Ugly Fabrics
Today I’m making a quilt using only ugly fabric....

About Me
I am a content creator, designer and maker of quilts and a hopeless cat lady. Being able to share all I know with you is a kind of magic I have never experienced before!
I love this. I want to try as soon I can get a sewing machine. Thanks for sharing. I want to learn how to sew at 69 year old widow so I have extra time on my hands.
Hi Deborah! That’s such an awesome idea! Now’s the perfect time to find new hobbies and sewing is wonderful! Hopefully you can get a sewing machine soon.