Today, I’m making the most beautiful rainbow quilt pattern.
I know I’ve done a couple of color washes with you before but this one… this one is it for me…
Because I’ll be doing just one tiny step differently that will pretty much change the whole thing!
It’s the scrappiest, beginner level rainbow quilt you’ll want to use for everything from now on, because it’s that easy and fun to make.
Let’s do this!
What’s a Rainbow Quilt?
So what exactly is a rainbow quilt pattern?
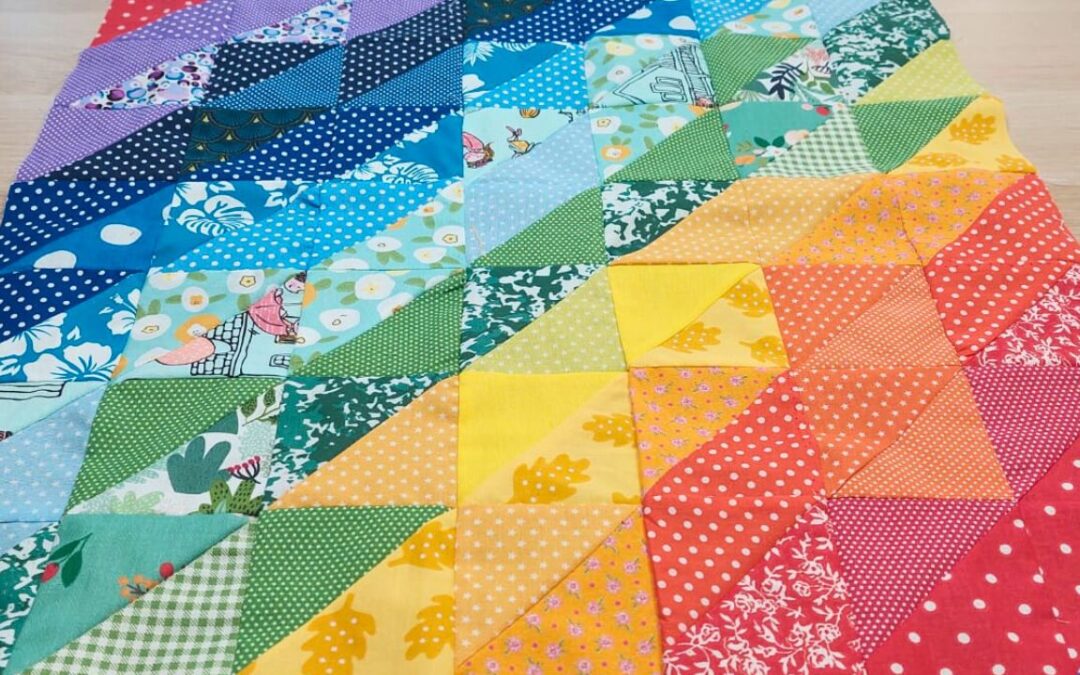
It’s a very simple quilt design that uses all the colors of the rainbow to shine.
Not only that, it follows the rainbow sequence in the most perfect way.
So red, purple, dark blue, light blue, green, yellow, orange, red and back to purple.
The idea here is to show how this is a circular sequence, it never really ends and there’s a perfect continuity to it.
Now, the difference between this rainbow quilt design and other color washes I’ve made before is the transitions between the colors and much softer and subtle than usual.
Rainbow Quilt Pattern Ideas
There are a lot of ways to make rainbow quilt patterns, I know I’ve made a few rainbow quilts before using completely different rainbow quilt blocks!
I’ve made squares with a tiny center in another color, I’ve made rail fence quilt blocks in rainbow colors, I’ve used rainbow jelly rolls to make a trip around the world quilt with a rainbow sequence…

I mean, the possibilities are truly endless when it comes to rainbow quilt patterns and I intend to try them ALL out!
Because sewing a quilt in all the colors of the rainbow is truly my favorite thing to do.
Plus rainbow fabrics are truly the most colorful fabrics ever, so what’s there not to love??
These colors are all seen in color wheel quilts because we’re essentially using color wheel or rainbow sequence colors, right?
If nature says it works, who are we to say different?
How to Make a Rainbow Quilt with Fabric Scraps
And guys, the fact that I’m using scraps for this, is just perfect!
And let’s not forget that half square triangles are truly the quintessential fabric leftovers, right?
I mean, how many quilt patterns have I made that resulted in some HST leftovers to add to my scrap pile?
So, that we’re making HST using scraps and that we’re taking all of them and making a rainbow patchwork quilt?
Talk about turning trash into treasure…
And trust me, it’s going to look awesome!
Rainbow Quilt Pattern Supplies
- Several scraps of colorful fabric
- Rotary Cutter
- Rotary Blade
- 6” x 6” Quilting Ruler
- Cutting Mat
- Mini Iron
- Ironing Wool Pad
- Basic Sewing supplies: Pins, needles and thread
- ¼ on an inch foot (sewing machine)
Disclosure: some links are affiliate links. As an Amazon associate, I earn from qualifying purchases, at no extra cost to you.
Rainbow Quilt Pattern Requirements
I am making a total of 49 blocks. And for that you’ll need
- 50x 4 inch squares in all different colors or the rainbow
Step 1: Picking the scraps

We went through our scrap pile, we picked all the pieces we could extract 4 inch squares from.
The only rules here are, the colors need to be right and the size needs to fit what we need, that’s it!
Step 2: Cutting the squares

Okay guys time to cut our 50 squares.
We need at least one or 2 pairs of the same colors, ok?
We’re making half square triangles after all…
Step 3: Pressing the squares

Before anything else… we need to press these squares.
I cannot stress enough just how important pressing is, particularly when I’m using scraps that I keep in a large bag, all mixed up and scrunched up.
Making half square triangles requires a little bit of precision and having wonky, scrunched up squares is not the way to go.
Step 4: Making the fabric pairs

Our next step is to make fabric pairs to make HSTs.
Now, if we wanted to make a big rainbow quilt pattern, we could have made bigger squares and cut up to 8 HSTs at a time!
They are that easy to make!
But since we’re only working with 49HST for this quilt top, we’re making 2 at a time.
So let’s go ahead and pair our fabrics.
Remember, some we need in the same colors.
BUT, and this is a big but because it’s a first for us, we also need some pairs of different adjoining colors.
So red and purple, purple and dark blue, dark blue and light blue, light blue and green, green and yellow, yellow and orange, orange and red.
This will give us the subtle transitions we’ve been looking for perfectly!
Step 5: Sewing the half square triangles

We take our 25 pairs and we place one square on top of the other, right sides together.
Then we draw a diagonal line.
And then we sew two line on each side of that line we just drew.
You want your seams to be paralel to the line and we want them to be at the same distance from the line.
Step 6: Cutting the half square triangles

Okay guys, now we cut all our fabric pairs following the line we drew earlier.
We do this for all the pairs, cutting between the seams we’ve just created.
And that’s how we get 2 half square traingles!
Step 7: Trimming the half square triangles

But we’re not done with these yet!
We need to press them open and then trim them to 3.5 inches.
Now, when you’re trimming a half square triangle, before making sure it’s the size you want, you need to align your ruller with the HSTs.
You do that by making sure that the line where the two fabrics meet is aligned with the 45º line on the ruller.
Only when it’s done can you proceed to cut them to size.
And then we repeat the last few steps 24 more times.
Step 8: Making the puzzle

At this point you’ll have 50 half square triangles in all the colors of the rainbow.
Time to make a color wash using them.
And yes, once you’re finished, you’ll be left with an extra one.
Let’s make our smooth transitions from purple to red only to finish right where we started!
Step 9: Sewing the quilt pattern

And once our rainbow quilt blocks are all nice and in place, we are going to sew them all together.
First the columns, then the rows.
These are 7 by 7 squares, 49 in total.
I usually chain sew these to save me time and to make sure I don’t mess up my quilt pattern.
Step 10: Press the quilt top

We are almost done guys!
All there’s left to do now is to press our rainbow quilt top so make sure we have nice, flat seams that won’t disturb our pattern.
We want to be left with a lovely, flat square filled with color, with smooth, soft transitions to boost!
Step 11: Our rainbow quilt pattern is done!

And that’s it!
Our simple rainbow quilt pattern is done and ready to go.
You can turn it into whatever you’d like!
These rainbow colorful fabrics will look stunning any way you use them.
Watch the full tutorial!
Guys, how much fun was that?
And how absolutely gorgeous is this rainbow wash made of half square triangles?
And if you want to watch the video of this rainbow quilt pattern getting made, here it is!
Most Recent Projects
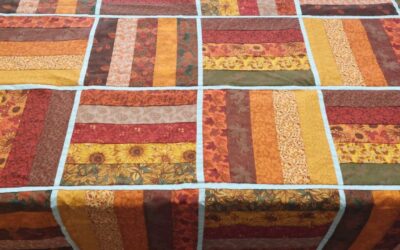
Incredibly Easy Stained Glass Quilt Pattern for Beginners
Today I’m making a stained glass quilt top. But...
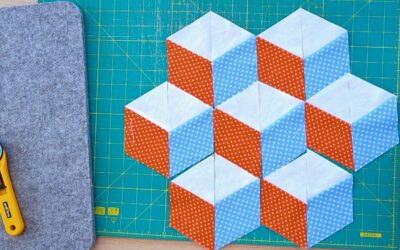
How to Make 3D Tumbling Quilt Blocks (No Y-Seams)
Today we’re a making tumbling blocks! And that...
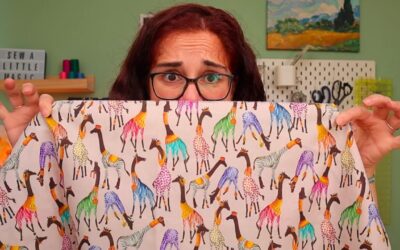
5 Practical Ways to Use Ugly Fabrics
Today I’m making a quilt using only ugly fabric....

About Me
I am a content creator, designer and maker of quilts and a hopeless cat lady. Being able to share all I know with you is a kind of magic I have never experienced before!