How to use tiny fabric scraps?
Do you struggle to find uses for scraps you have stored away, waiting for the right time to be used?
I can’t remember exactly how many bags filled with leftover fabric I threw away over the years.
I used to keep them all, trying to maintain a zero waste policy when I sewed.
But eventually, as time went by and the pile just kept getting bigger, I realized I would never used them and ended up getting rid of all my scraps of fabric to make room in my tiny sewing space.
But now, I know better.
Today I’m going to share the perfect sewing project for using scraps WITHOUT creating more, let’s do this!
How to Sew Tiny Fabric Scraps
But how to use tiny scraps of fabric together? By hand is a lot of work and by machine… it’s complicated!
For one thing it’s hard to keep them in place while we sew.
But as far as seam allowances go, it’s a bit of a nightmare sewing with fabric scraps that are too small.
We need to get creative here guys…
I’m taking all my scraps and turning it into a piece of fabric. Scrappy, colorful fabric, how perfect is that?
But how do I do that? I’m actually adding a top layer of sheer fabric that will restrain my tiny scraps of fabric, even the smaller ones, even tiny threads!
I’m telling you, it is totally possible to take the tinniest pieces of fabric, the ones people consider garbage and turn it into something completely different and useful!
Let me show you!
What To Do With Tiny Fabric Scraps
Dealing with leftover fabrics is annoying and time consuming.
But…
I’m determined to reduce the waste I create with my sewing.
But some times you look at those crumbs of fabric, those really small stripes that resemble threads and you think: Is this really worth it?
And my answer is YES!
That’s why I keep looking for more scrap fabric ideas I can share with you guys.

These are the kinds of fabric crumbs I’m talking about.
And it’s my mission to think of things to make with scraps and these cotton remnants that aren’t really fabric scraps, but essentially waste!
And these are smaller than crumbs really, smaller than any seam allowance, you get the idea.
The truth is, creating unique projects using leftover fabric is also a lot of fun! Because it’s unpredictable, you never really know how it’s going to look in the end.
And once you get in the spirit and keep thinking of how we can recycle small pieces of fabric like these, the possibilities are truly endless.
Amazing Ideas To Use Up Tiny Scraps
Today we’re actually making fabric from our leftover fabric scraps. Unique, awesome, custom fabric we’re going to make using what is essentially waste.
So, if you don’t know how to use tiny fabric scraps this project is for YOU.
Don’t you just love that? Turning trash into something precious? I love that feeling.
There are a couple of ways to do this.
And I’ve decided I’m not going to be using anything like fabric stabilizers or anything like that, because you don’t really need it.
However, I did want to make sure that the fabric we get isn’t very thick or stiff, you know, if I were to use thermal adhesive or something like that, that’s what would happen.
For this project we’ll need to get our leftover fabric stash. Maybe for you that’s a bag (very respectful) or a box or maybe it’s a full on, jumbo-size container, it does not matter! (And I do not judge!)
We need those small scraps, the tinier the better. We need threads, maybe even wool or salvages, everything is usable for this project.
Why?
Because we want loads of scraps to make beautiful contrasts when all huddled together. And since we don’t have a big piece to spread them, the tinier they are, the more we can add.
Also…
You can make this any size you want, ok? The process is exactly the same.
Everything from my scrap pile has got to go!
And this is the perfect project to make it happen. Let’s do it!
Tiny Pencil Case Supplies
- Several scraps of colorful fabric
- Sheer fabric or net (I used an old curtain)
- Inexpensive fabric to serve as the back fabric
- Rotary Cutter
- Rotary Blade
- 12” x 6” Quilting Ruler
- Cutting Mat
- Mini Iron
- Ironing Wool Pad
- Basic Sewing supplies: Pins, safety pins, needles and thread
- Any regular foot & free motion quilting foot (sewing machine)
Disclosure: some links are affiliate links. As an Amazon associate, I earn from qualifying purchases, at no extra cost to you.
Tiny Pencil Case Requirements
We’ll be working with 3 different layers: the scrappy layer, the sheer fabric top layer and the inside fabric layer.
1st Layer:
- scraps to cover the whole area
2nd Layer:
- 15×10 inches of inexpensive fabric (I used an old white sheet)
3rd Layer (top):
- 15×10 inches of sheer fabric (I used an old curtain)
Because I used a somewhat opaque white top layer of sheer fabric, I want my scraps to be as colorful as I possibly can to create contrast.
Step 1: Sorting the fabric

So, the goal here is: how to use tiny fabric scraps to create new fabric, right? So my first step is to get a handful of scraps directly from my scrap pile.
This is the part where we spend a little time sorting through our scraps to find the fabric pieces we need.
I try to find colors that contrast nicely with each other, preferably smaller pieces but I can cut a scrap into any size I want.
However, since the point is zero waste, to be able to use all my fabric scraps, I try not to do that.
I know I’ll need much more scraps than just a handful but I want to start small so I don’t get overwhelmed by having scraps all over my tiny sewing space.
I’ll also be looking into my trash pot (the glass pot where I place the threads and leftover fabric that’s smaller than a seam allowance) to add to the whole thing and create some contrasts.
Step 2: Cutting the top and bottom fabrics

Now we want to cut our back fabric into a 15 by 10 inch rectangle. And I’m using a very old white sheet for this.
This is the basis of our scrappy layer, we can’t settle all our scraps perfectly without a surface to distribute them on.
And if you use a color fabric, it’s actually a good thing because if there are any empty spaces, you won’t be able to tell because it’s color right?
The white stands out much more so I’m not really making life simple for me.
We also need something sheer that works like a net of sorts.
I have this old curtain right here, it’s not the most sheer, organza or just some sort of net would be more transparent but I kind of like that it mutes my colors a little bit, it allows me to use all my scraps without having to worry about it being too much.
And yes, you would just use two layers of the sheer fabric but I will warn you it’s harder to control, it’s very easy to bend it and this base fabric gives it more stability and makes our job easier.
Step 3: Sewing the fabrics into a pocket

Now we need to create a pocket using these two fabrics.
That means we will sew 3 sides of our rectangle, leaving one side completely open.
I advise that you pick one of the wider sides to keel open to make your life easier when you add your scraps.
Step 4: Filling the pocket with scraps and thread

And now we stuff it with scraps.
I like to start with the bigger pieces and then go a second layer with the tiny ones.
You can use anything, thread, ribbon, anything you have leftover lying around that adds different details to our lovely fabric.
Another important tip I have for you is start on one end and finish at the other. Also go from top to bottom.
If you just scatter the pieces around, when you go back to add more scraps higher on your rectangle or next to your already laid scraps, you’ll move them.
So you’ll end up having twice as much trouble.
If you start at the top left corner, for example and do all the top and then start coming down, from left to right, you’ll only be disturbing a small part of your scraps.
Step 5: Pressing the scraps in place

Once you’re happy you’ve covered the entire white rectangle with your tiny scraps and you look at it and like the contrasts and color combinations, press the whole thing.
This will help flatten all your layers and keep the tiny fabric pieces in place.
An important tip is, check to see if your sheer fabric won’t melt with the iron. Test it out pressing one corner of the fabric and see how it behaves. If it melts, then add a cloth between your sheer fabric and your iron.
Step 6: Closing the fabric pocket

Next step is closing our pocket and keep the tiny crumbs of fabric inside.
Try and keep the layers as flat and and as still as you can while you sew, we don’t want the fabric scraps moving around too much.
Step 7: Quilting the fabric

It’s time to sew our fabric pattern in place. Make sure that whatever we do with it, the pieces won’t be moving around
And this is pretty much up to you. You can free motion stitch it, you just sew randomly in all directions or you can be really methodical and sew some lines or diamonds, whatever you prefer, that’s what you do.
I’m using free motion quilting to bind all the 3 layers once and for all.
Step 8: Marking the back of the fabric

Time to make something with this unique piece of fabric we’ve just created.
Turning it around, we are going to mark 5 inches. Then we are going to fold the right end of the fabric over to our 5 inch line.
Step 9: Folding the fabric

Now we turn it around and we make a new fold, the same size as the first one.
Step 10: The final fold

Now we do a last fold which is to pick the other end of our fabric and fold it over the first two fold we’ve just made.
Once we’re done we’re looking at the back of the fabric, the white sheet, because we’ve just folded it over our top.
Step 11: Sewing both sides

And now we are going to sew on the left and on the right of the smalle white rectangle we’ve just created.
That means we’re creating a pocket once more, leaving one side completely open where we can see the previous fold we created.
Step 12: Cutting the corners

Now we fold our newly sewn rectangle into two and we cut out the corners.
Yes, we will be cutting into the lines we’ve just sewn and that’s okay!
We’re also cutting both corners at a time to make sure they match as much as they possible can.
Step 13: Sewing the round bottom

Now we sew the rounded bottom, from one seam to the other.
Step 14: Turning the fabric inside out

Time to turn our rectangle inside our!
When we’re done, we need to be able to see only our top fabric, the colorful scraps with the sheer layer.
We should be looking at an open pencil case once we’ve turned all our layers inside out.
Step 15: Sewing all around the pencil case

Now that we’ve got our pencil case nice and straight, we want to keep it like that. We do it by adding a seam all around the pencil case.
We start on one end and sew all around, from lip to bottom.
That way the fabrics won’t shift and the pencil case won’t be wonky or lose its shape.
Step 16: Adding velcro

Almost there guys!
How do we close our pencil case? By adding a piece of velcro to the lid and the body of the pencil case.
I’m sewing this by hand because I don’t want the stitch to be visible on the top of the lip of our pencil case.
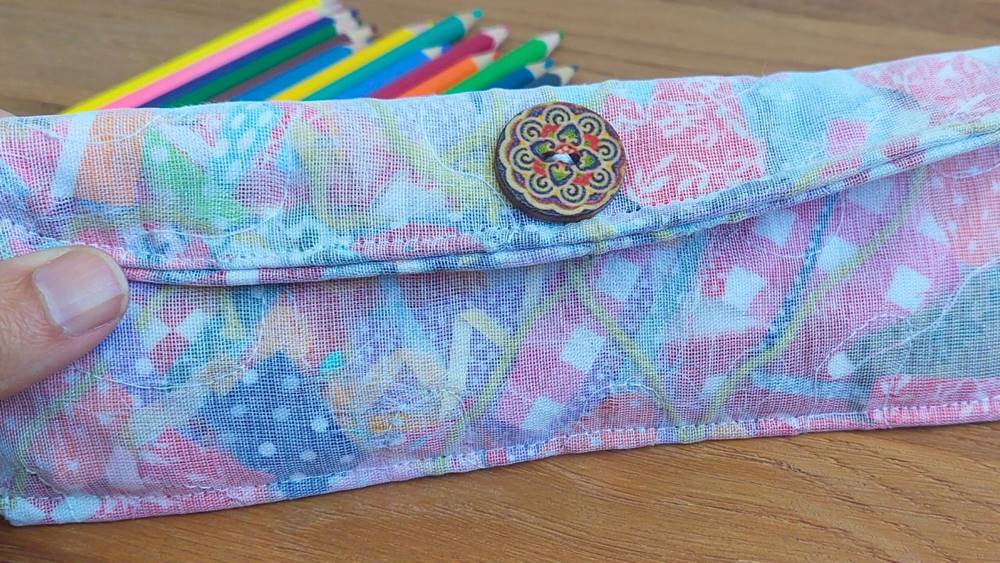
Step 17: Add a button

And that’s because I want to add a cute little button to the lid.
Just a cute little touch to make it look nicer.
I will be also sewing this button by hand and I’ve picked a darker button to contrast with the lightness of our scrappy fabric.
Step 18: And that’s it!

And we are done guys! Our pencil case is done and ready to be put to good use.
This is truly the perfect DIY sewing project to use tiny fabric scraps!
We’ve made this pencil case from scratch!
We started by creating this awesome, unique fabric and only then did we make this quick, super easy project!
I’m so happy with the result!
Watch the full tutorial!
And that’s it guys, the cutest ever handmade pencil case made from tiny leftover fabric scraps.
If you want to watch the video of this quilt top getting made, here it is!
Most Recent Projects
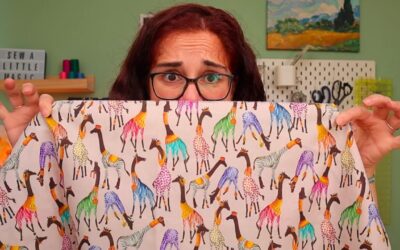
Incredibly Easy Stained Glass Quilt Pattern for Beginners
Today I’m making a stained glass quilt top. But...
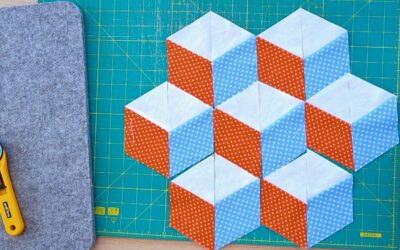
How to Make 3D Tumbling Quilt Blocks (No Y-Seams)
Today we’re a making tumbling blocks! And that...
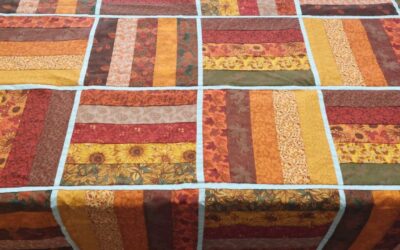
5 Practical Ways to Use Ugly Fabrics
Today I’m making a quilt using only ugly fabric....

About Me
I am a content creator, designer and maker of quilts and a hopeless cat lady. Being able to share all I know with you is a kind of magic I have never experienced before!