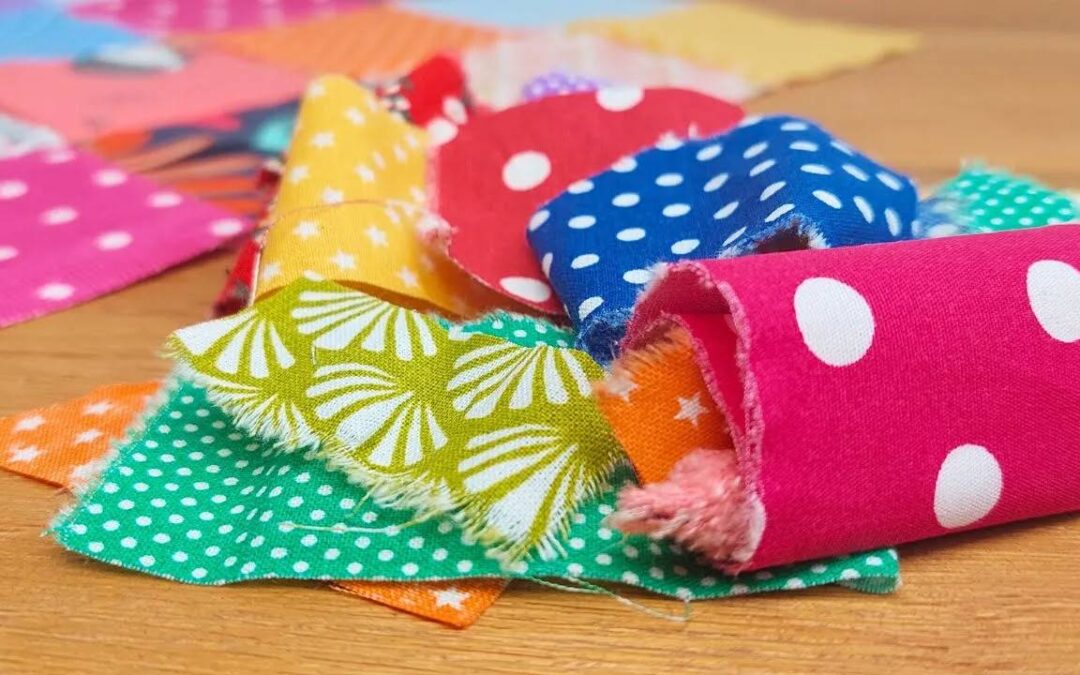
Today, I’ll be sharing my best ideas for leftover fabric scraps.
But first…
Let’s talk about scrap management. Exciting stuff, hum?
I would say it’s the one thing that can change the way you sew and plan your projects.
We’re talking creative and awesome ways to organize your scraps of fabric that will make using them a piece of cake!
Why Most Ideas for Leftover Fabric Scraps Don’t Work
I’ve seen all sorts of videos and blog posts on fabric scrap sorting and organizing, I’ve tried a lot of them and, I have to say… none of them worked.
Because, no matter how you sort your fabric scraps, by color, or size or whatever it is, you still get big piles of old fabric that you need to go through in order to use them.
This wastes a lot of time, too much time if you’re very busy or very low patience like I am.
They keep telling us, don’t throw away your leftover fabric, reduce your fabric waste, but the options that are offered don’t solve the issue at hand.
Well, the way I do it actually works for me and I believe it will work for you too!
Why Using Leftover Fabric Scraps Can Be So Hard
Dealing with leftover fabric is annoying and time consuming.
So much so we avoid doing it at all costs!
It’s easier to cut into big pieces of fabric than waste time going through a fabric stash pile filled with pieces of fabric looking for what we want.
But fabric scraps aren’t waste!
More and more I see each tiny piece in my scrap stash as precious and valuable.
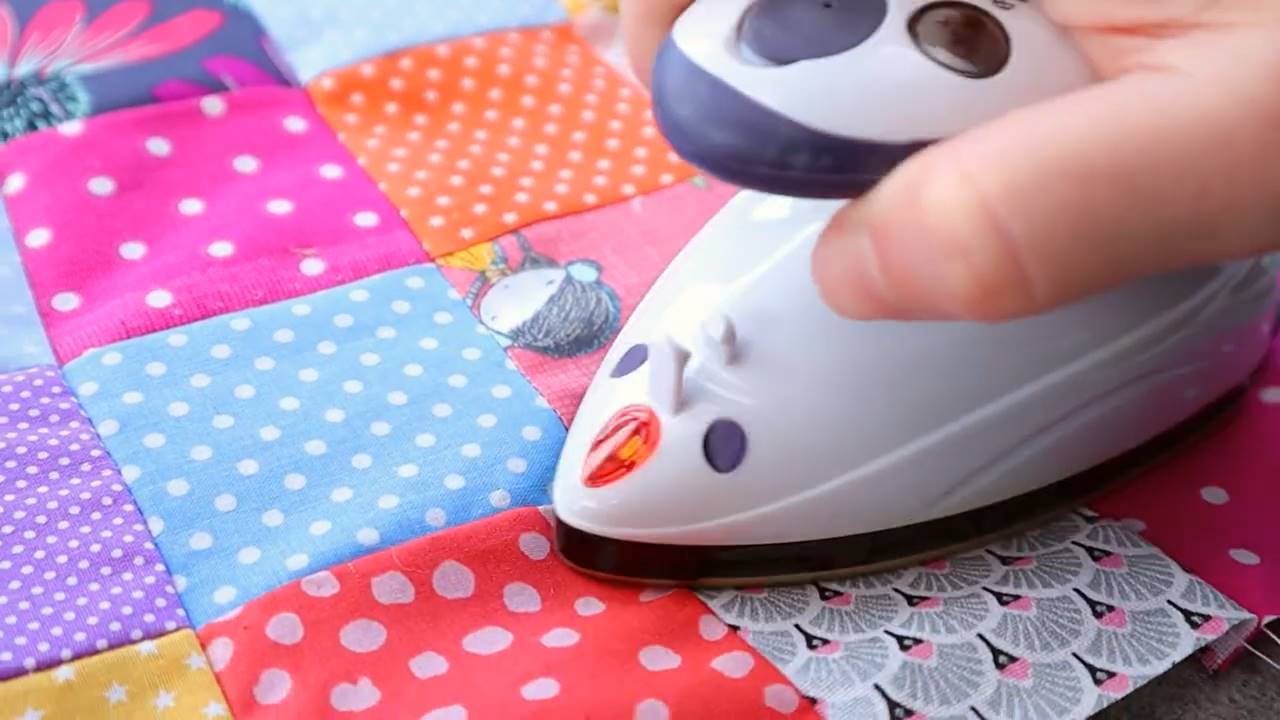
And if we’re able to organize them in a way we wouldn’t have to go to so much trouble to pick them… the problem would be solved!
Even more so if we’re able to sew them together even BEFORE we know what we’ll be doing with them!
That way, not only are you not wasting time… it’s actually saving you time!
Well… I’ve found a way to do just that and that’s what I’ll be sharing with you today, step by step.
Amazing Things to Sew With Leftover Scraps (Use Every Piece of Fabric)
I have lost count of the number of sewing tutorials I’ve done using fabric leftovers.
Since I decided in 2023 to de-stash my sewing space, I’ve made it my mission to show you what to do with fabric scraps.
I’ve made many many quilt blocks, a couple of table runners and place mats and, of course, a ton of mug rugs.
And then I found out you don’t actually need to know exactly what you’re going to do with your fabric scraps before you start sewing them together. And that’s when it all changed!
Since I started sewing my fabric scraps together into patterns before I actually put them to good use, my leftover fabric pile has considerably shrunk.
Then I use these sewn up mini quilt blocks if you will two ways: I either use several, sew them together and make something out of them. Or I use them as a catalogue that I get to pick my scraps out of.
So if I need some of the strips I’ve sewn together, I just unsew it.
Either way, it’s much easier to see what I actually have available than having them all in piles…
Supplies for Organizing Your Leftover Fabric Scraps
- Fabric scraps. Loads of them. The more the merrier
- Rotary Cutter
- Rotary Blade
- 12” x 6” Quilting Ruler
- Cutting Mat
- Mini Iron
- Ironing Wool Pad
- Basic Sewing supplies: Pins, safety pins, needles and thread
- Any regular foot (sewing machine)
Disclosure: some links are affiliate links. As an Amazon associate, I earn from qualifying purchases, at no extra cost to you.
Organizing Your Fabric Stash Requirements
There is no size or shape requirement for organizing your leftover fabric.
We can do it with all shapes and sizes.
Step 1: Sorting the fabric
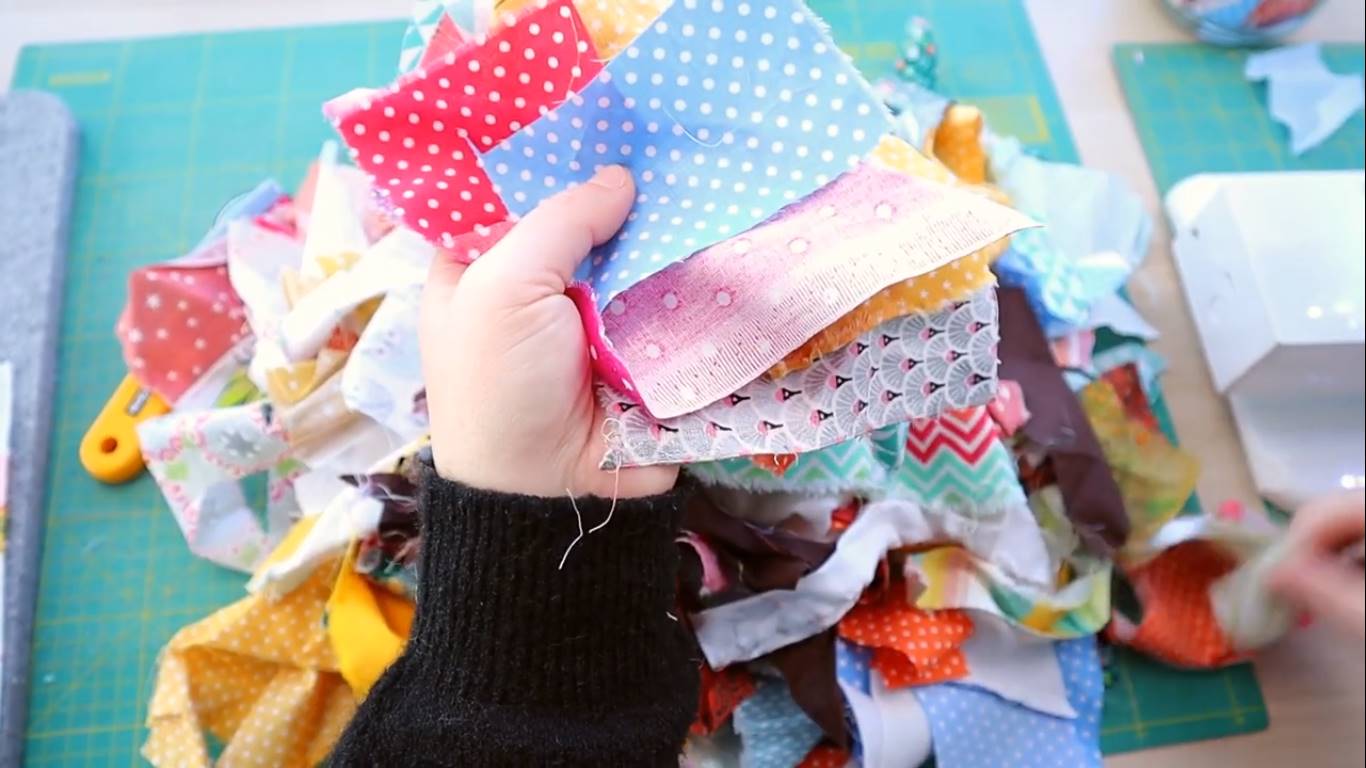
Guys, we can’t really do this if we don’t know what we’re working with.
You can’t even pick the pattern to sew them together is you don’t know the size and shape of the scraps you have.
So the first thing we need to do is get our scraps, scatter them across a table or something like that and start picking fabrics.
Looking at what I’ve got, I’m going to make a 10″ by 10″ square made of smaller 3 inch squares.
Let’s do it!
Step 2: Cutting the fabric scraps
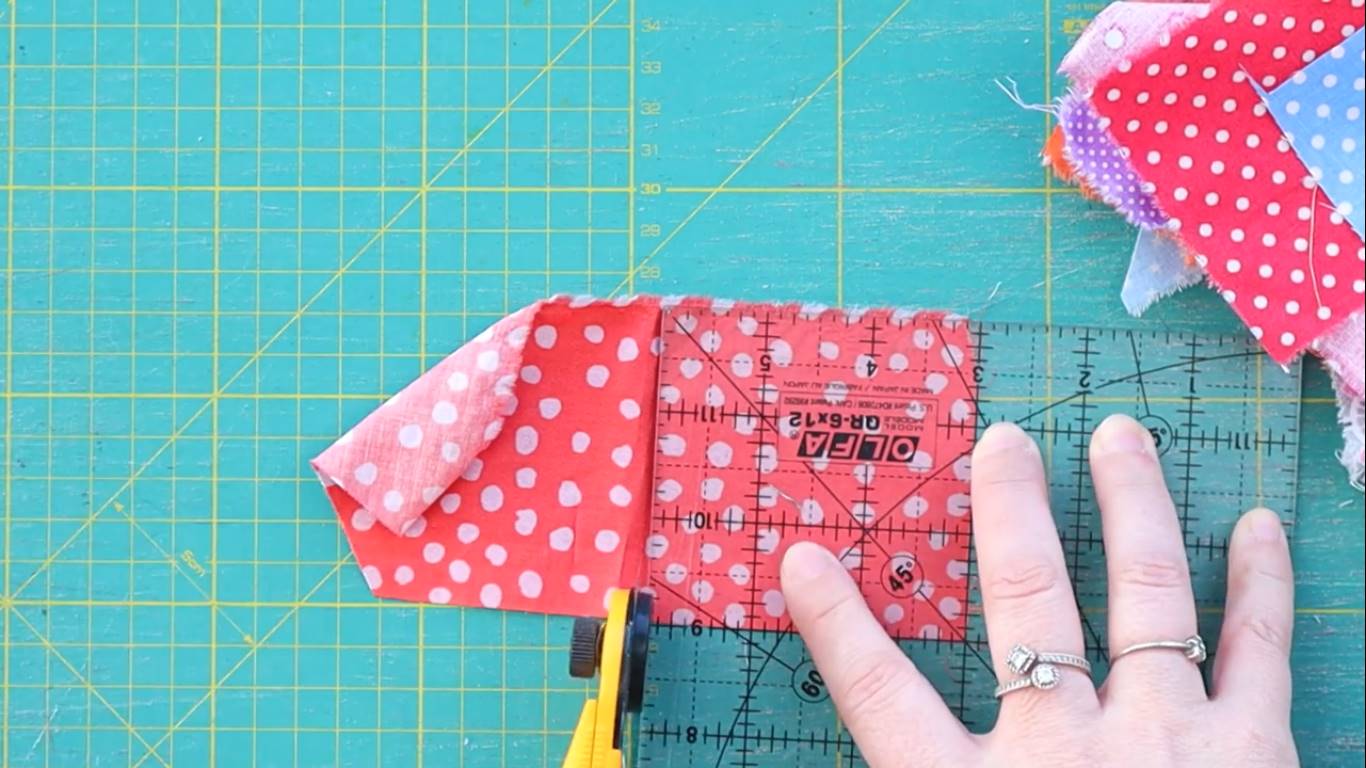
This is the ultimate fabric scrap buster for beginners, there is absolutely nothing to it.
I’m going to cut 12 3 inch squares in different colors. And because we want to make sure we don’t throw away any leftover fabric, we want to use every last piece of fabric scrap we own.
There are so many easy things you can do with scraps…
Depending on the size of squares you usually go for for your own projects, adapt the size of the squares AND the size of the quilt block accordingly.
I know people who love working with 5 inch squares or even larger and others who prefer teeny tiny squares.
Your stash, your sewing, your call!
Step 3: Picking a scrap pattern
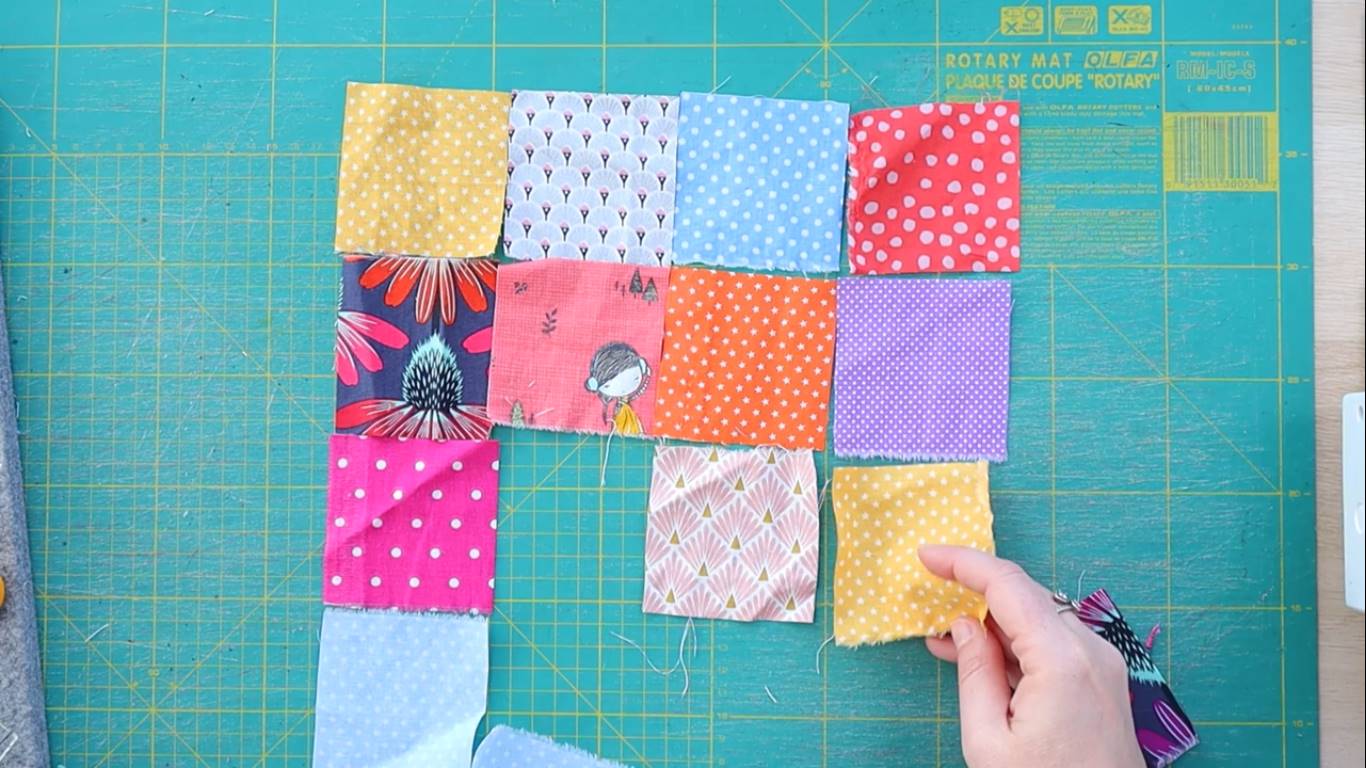
A big thing to consider are the colors of the scraps we pick and where we place them in our scrappy quilt block.
In fact, the color of our fabric scraps are very important because, if we’re sewing them together without knowing what we’ll do, we’ll want to make sure all the fabrics go together nicely.
That increases the chances we’ll get to use this block we’re creating just as it is!
Can you imagine all you can do with a 10 inch quilt block? So much time saved if the top is already complete beforehand!
Step 4: Sewing the scraps together
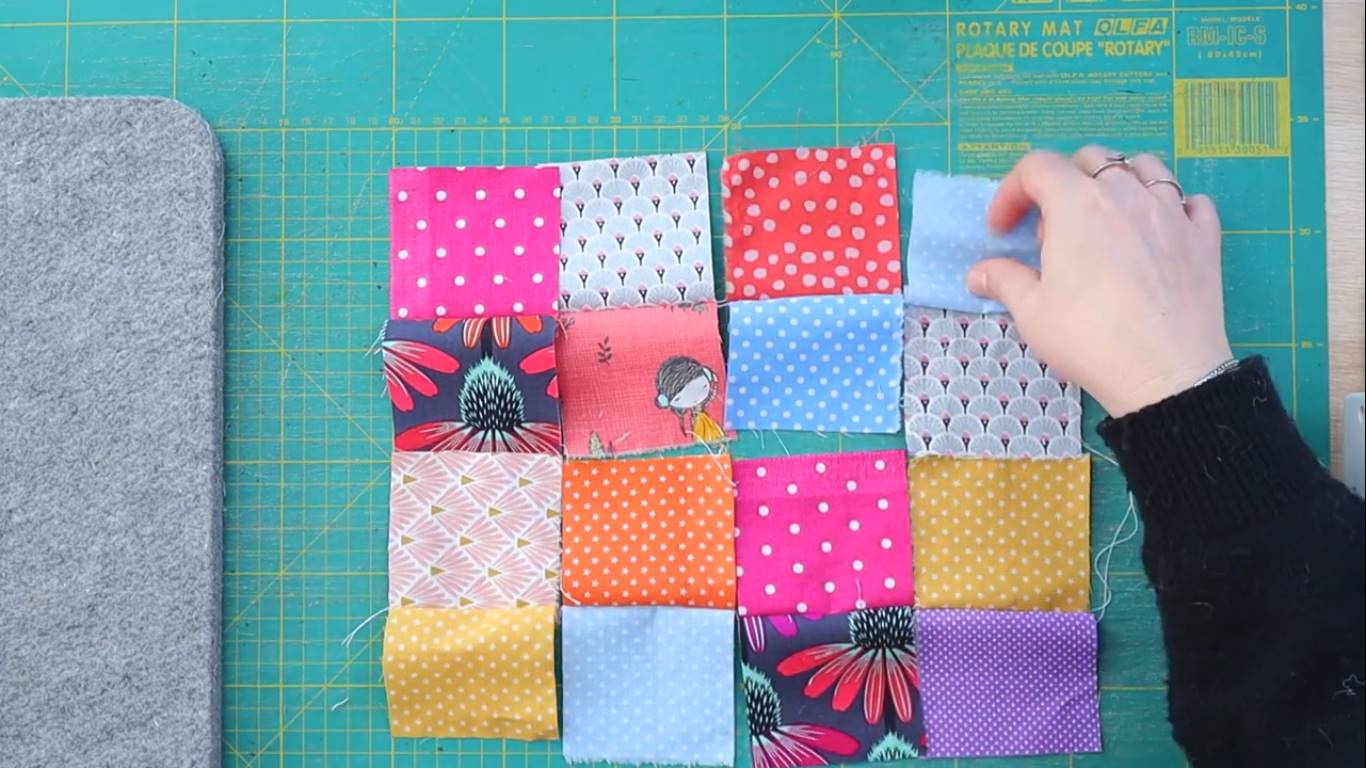
Time to sew!
We’re going to chain piece our squares by sewing them two at a time first, then joining our pairs into a row of 4 and then sewing all the 4 rows together.
That’s our very basic, very beginner sewing plan!
And I have to say that one of the most enjoyable parts about this scrap busting idea is looking at old fabrics sitting next to the most recent fabrics I bought and seeing how well they all work together.
For me fabrics bring memories of the times I bought them and the projects I used them for and that makes this whole leftover scraps DIY project much more enjoyable.
Step 5: Nesting the seams
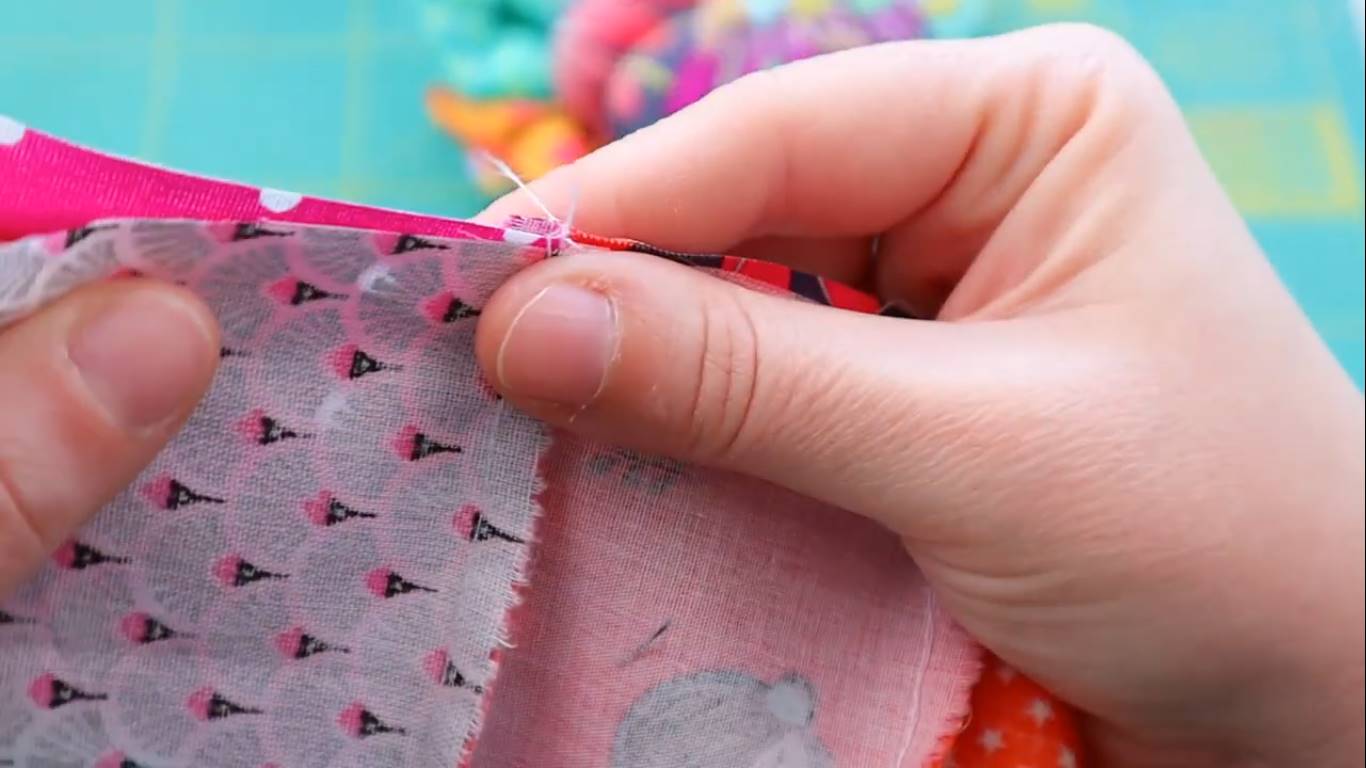
A quick note as we start to sew our fabric rows together, which is, always nest your seams.
That means that you don’t overlap your seams when sewing two rows of squares.
Instead, you make sure one row of seams is facing right and the other is facing left.
This means you won’t get a big bulk of fabric once you’re done, you’ll get a nice flat quilt top instead.
Step 6: Presssing and trimming the quilt top
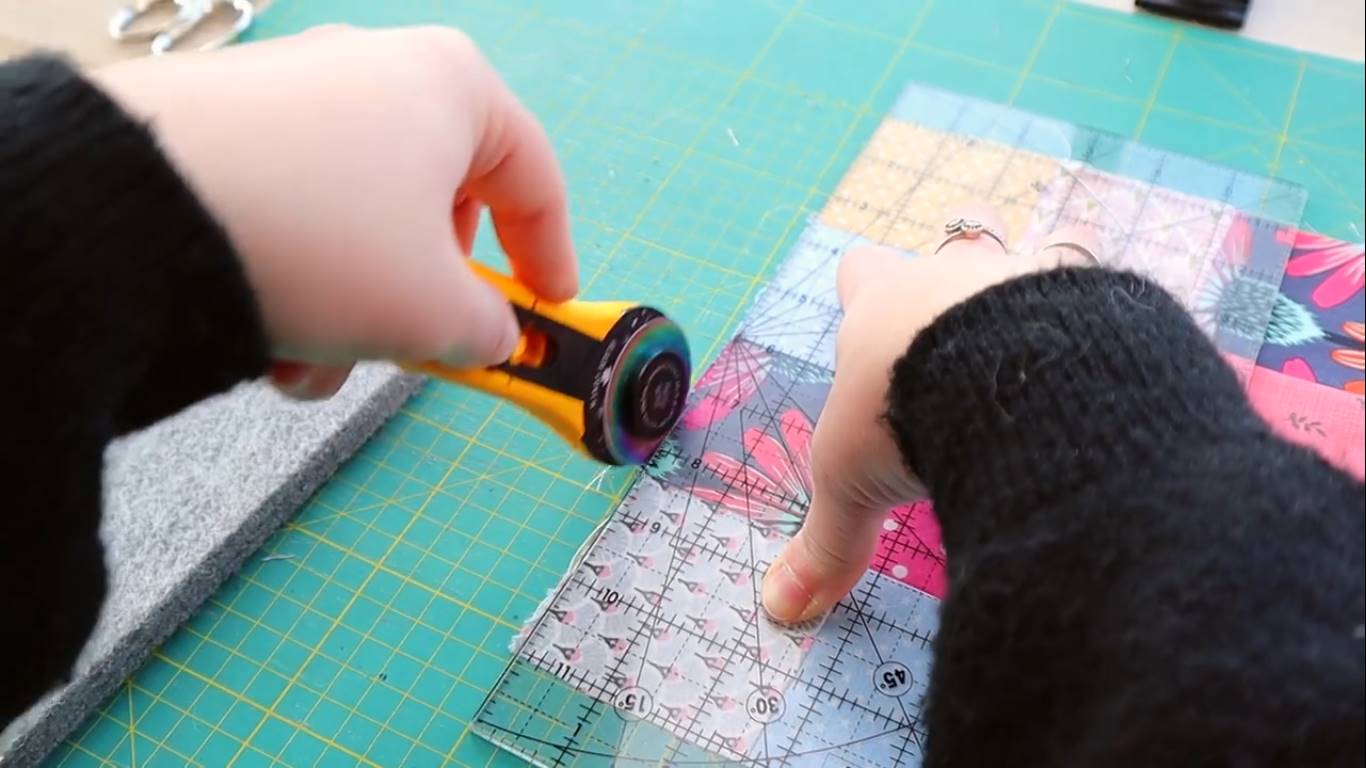
That’s when we find out if our seams were nested properly. If not, it will show a small bump.
Next step is to trim off the excess fabric. There shouldn’t be a lot of excess fabric because it’s just squares, nothing too complicated.
But it’s still a good move to make sure we have a perfect square quilt block when we’re done.
And now, let me show you some other easy things I’ve sewn to organize my leftover fabric stash.
Step 7: The jelly roll
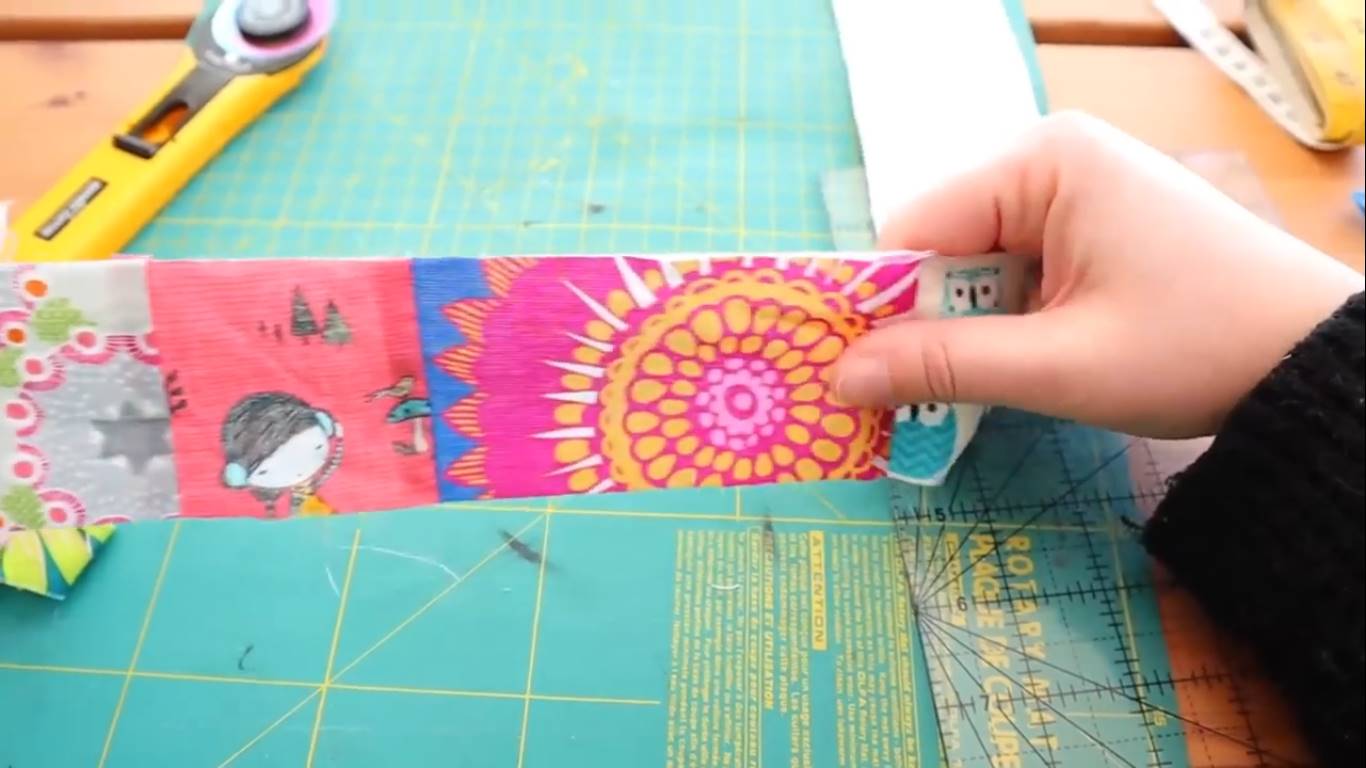
The first time I sewed scraps of fabric together without even knowing what I was going to use them for as a way to recycle old fabric scraps was to make a jelly roll.
And, if I’m honest, it’s still my favorite way to repurpose fabric scraps.
I cut out a strip of my cheapest fabric, usually and old white sheet and I just sew scraps onto it. The smaller the scraps, the cuter it will look in the end.
A good thing about these jelly rolls is you can make yards and yards of it in no time.
Step 8: The half square triangles
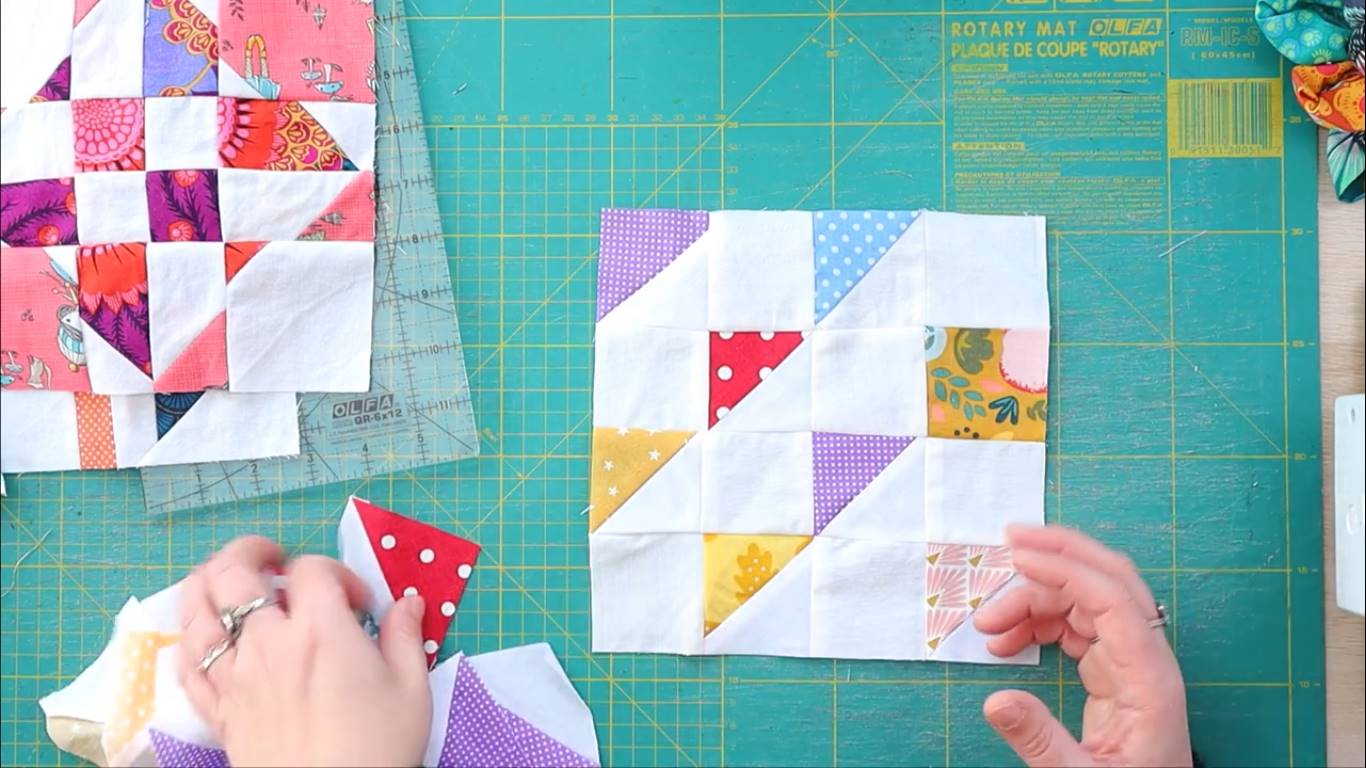
You don’t have to use only scraps of fabric, I mean, the most leftover fabric I have from my projects are half square triangles.
And I have to say, I love half square triangles, they are very cute and make a lot of great patterns.
So I just sew them together into quilt blocks, ready to be used!
Step 9: The stripe quilt block
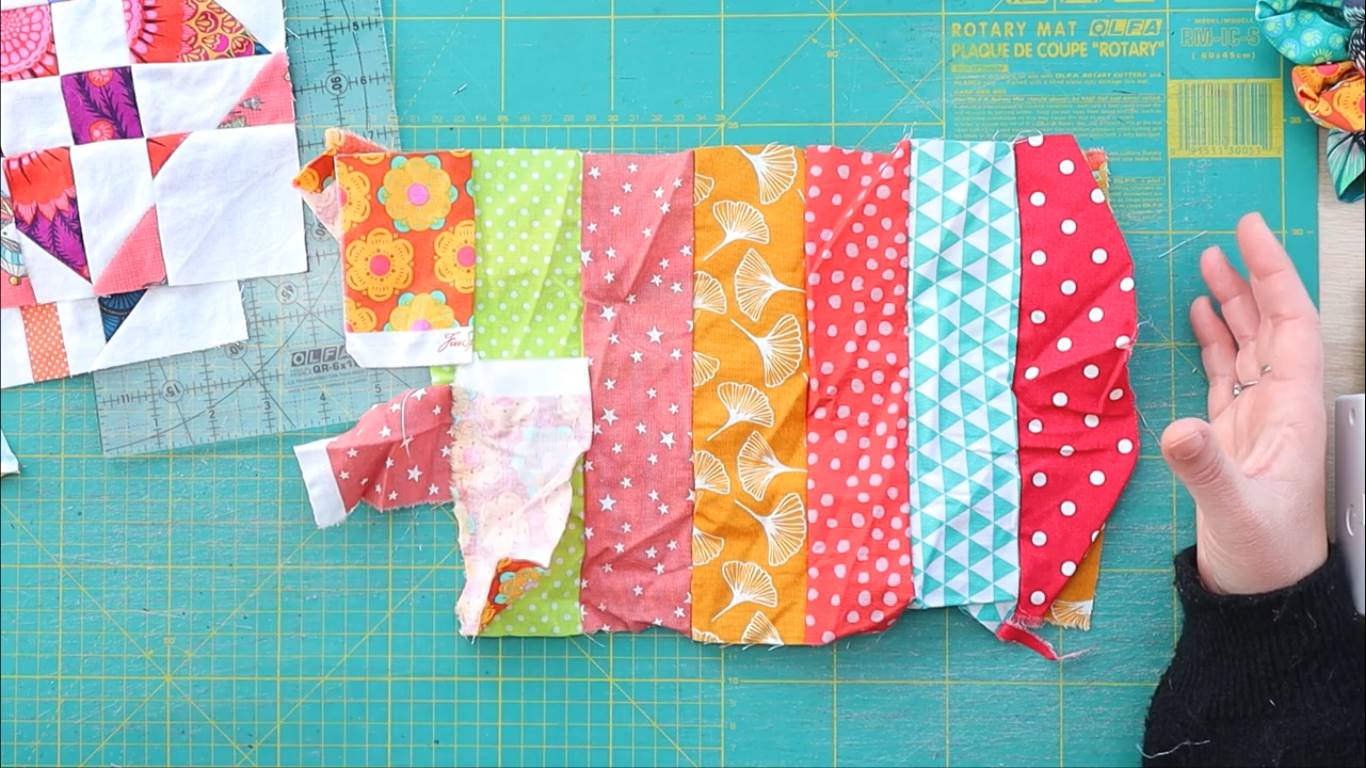
I use stripes of fabric ALL THE TIME.
So I like to organize my leftover strips of fabric by sewing them together, as a catalogue of the what I have available.
That way, instead of having to fish out my strips, I have them all on hand, easy to spot amongst all the other fabric scraps.
And, if I want a certain strip, I just remove it from the bunch and use it!
Step 10: The sample quilt
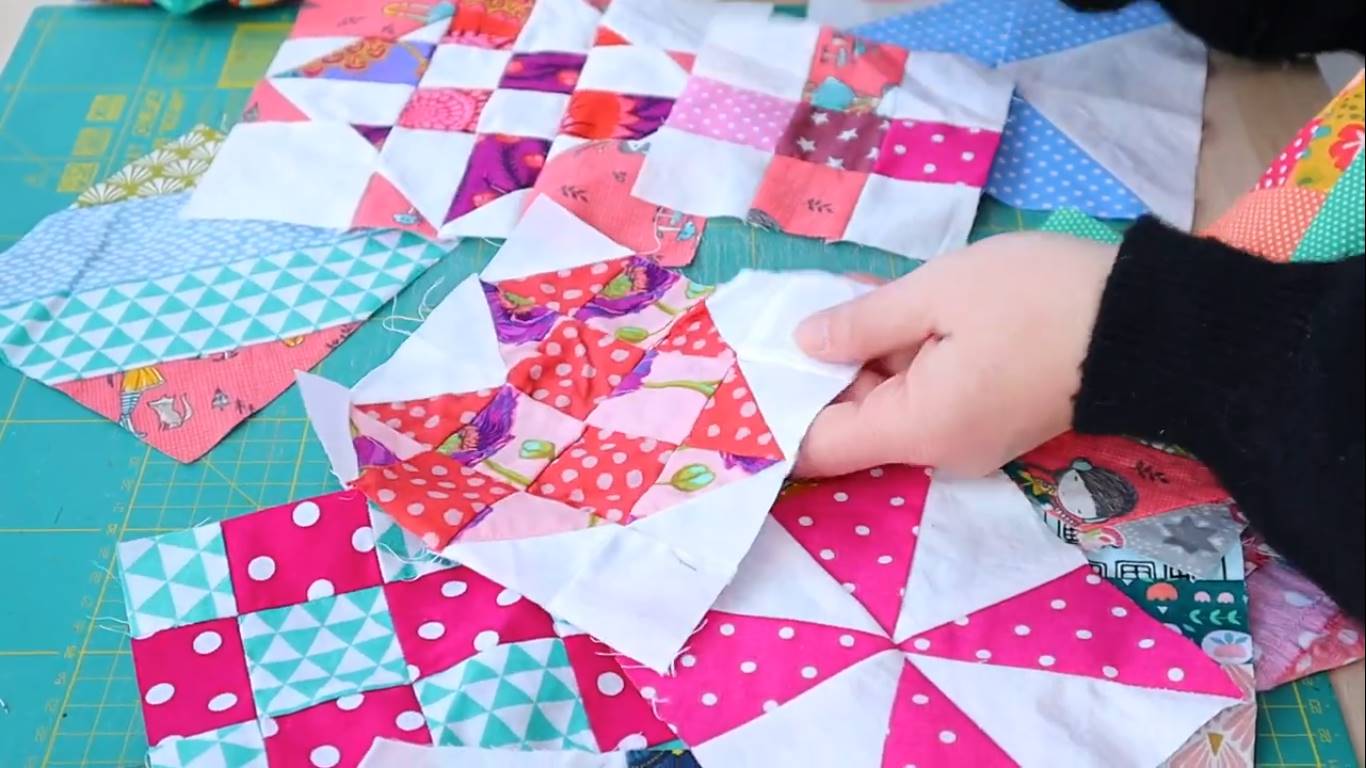
Because of my YouTube channel, I make dozens of quilt blocks every year.
And if you like to watch those videos and try making those scrappy quilt blocks yourself, odds are you’ll have a lot of quilt blocks too.
So why not make a sample quilt?
How easy, how fun, how unique is that as a way of using fabric scraps?
Step 11: The mini quilt
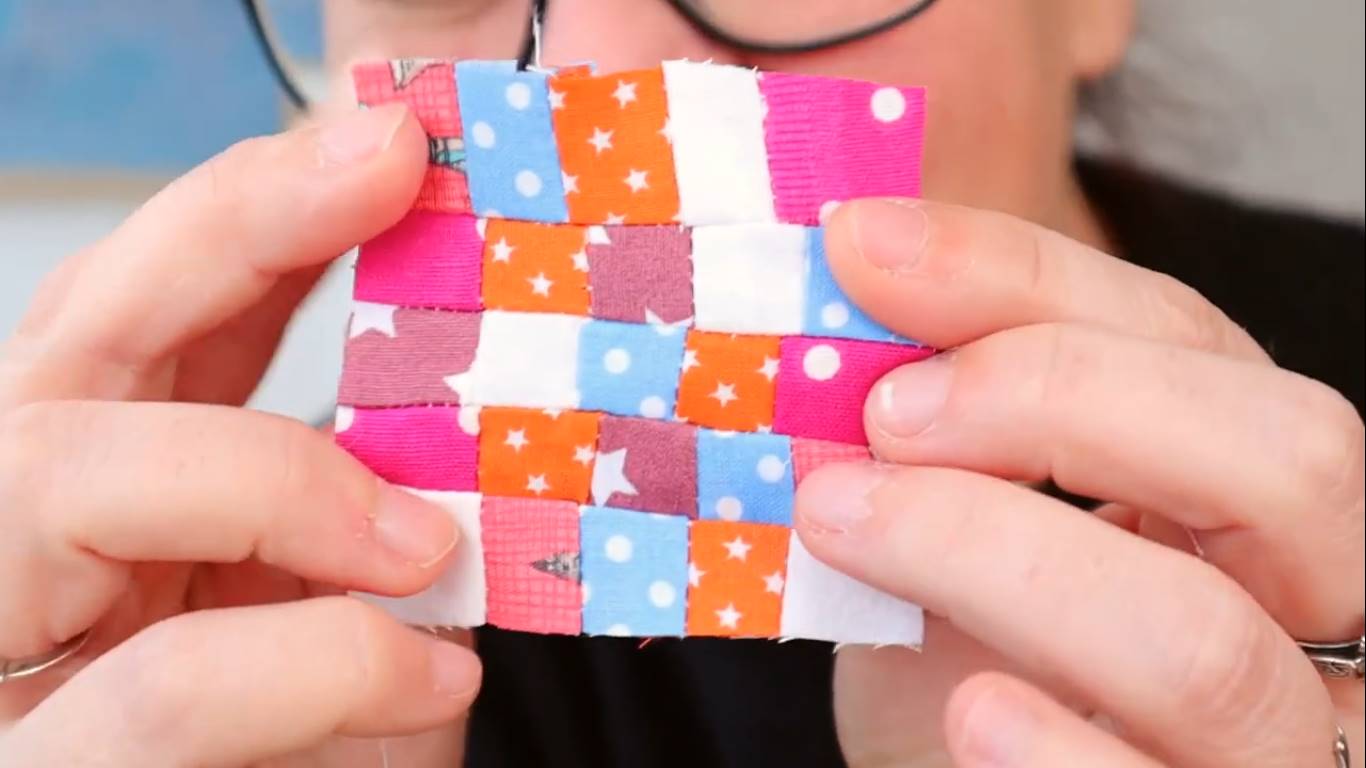
But even the smallest scraps of leftover fabric are valuable.
I’m talking about the tiniest scraps that can be so hard to use.
Well, I want you to use every last piece of fabric you’ve got on your scrap stash, so why not make mini quilts?
They’re awesome for your children’s dolls but they’re also very cute and a great way to practice the precision of your seam sewing.
I can totally see a mug rug made our of micro squares…
I think I’ve done a couple actually!
Watch the full tutorial!
And that’s it guys, the easiest, quicker, funnest ways of organizing your leftover fabric ever!
What do you think of these ideas for leftover fabric scraps? Will you be trying any of them?
If you want to watch the video of all of these options getting made, here it is!
Most Recent Projects
Incredibly Easy Stained Glass Quilt Pattern for Beginners
Today I’m making a stained glass quilt top. But...
How to Make 3D Tumbling Quilt Blocks (No Y-Seams)
Today we’re a making tumbling blocks! And that...
5 Practical Ways to Use Ugly Fabrics
Today I’m making a quilt using only ugly fabric....

About Me
I am a content creator, designer and maker of quilts and a hopeless cat lady. Being able to share all I know with you is a kind of magic I have never experienced before!

