Today I’m making a stained glass quilt top.
But not just any stained glass quilt pattern, I’m doing less measuring, less cutting, less sewing, less of everything… but with the same stunning result!
It’s the quilt pattern so many people love but dread to make.
Well, that changes today! Let’s do it!
What is a Stained Glass Quilt?
Stained glass quilts are one of the most beautiful quilts I’ve seen.
They look like those windows you see in big cathedrals like the Notre-Dame de Paris.
Stained glass quilt blocks are made out of different colors that are joined by a welding of sorts.
The overall effect is absolutely stunning.
Stained Glass Quilting Technique: How to Make Stained Glass Quilt Blocks
The reason why most people dread making this stunning quilt is the “welding” that joins all the pieces together.
In the traditional stained glass quilting technique, you have to add a sash in the middle of the small fabric pieces and make them all match perfectcly.
The way I’m doing it, you won’t have to.
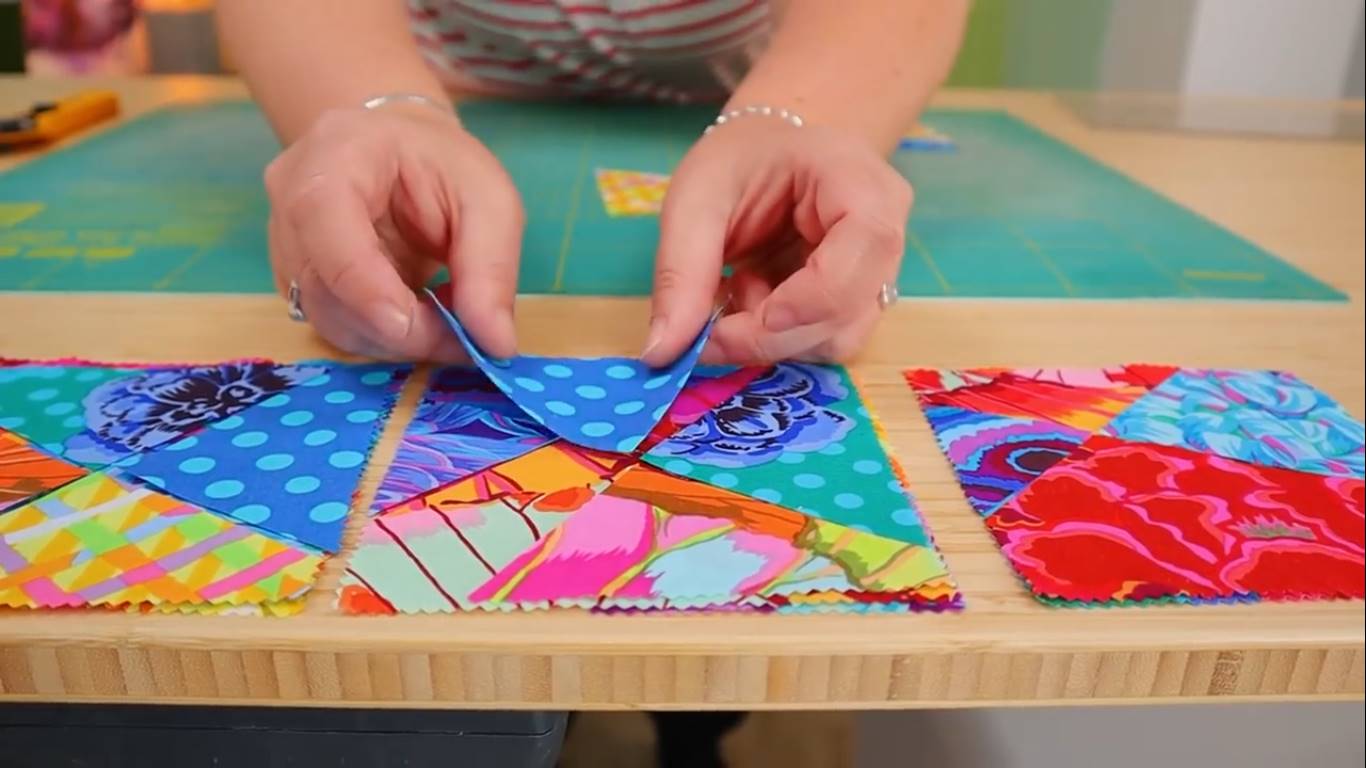
Another way I’m making this stained glass quilt pattern much easier and quicker to make is I’m starting out using precuts.
A lovely charm pack that will bring it all together and make the overall result shine.
Easy Stained Glass Quilt Pattern for Beginners
I’m making this stained glass quilt pattern totally beginner level by overcoming the biggest difficulties most quilters face with some very simple tricks.
Like, for example, instead of sewing thin sashing as the welding, I’m using some fusible bias tape.
That way, all it takes is some ironing and a couples of straight seams to keep it in place and I’ll be done.
Quilting doesn’t have to be difficult or time consuming, it just needs to be fun!
Stained Glass Quilt Pattern Supplies
- Charm Pack
- Black Fabric
- Fusible Bias Tape
- Rotary Cutter
- Rotary Blade
- 12” x 6” Quilting Ruler
- Cutting Mat
- Mini Iron
- Ironing Wool Pad
- Basic Sewing supplies: Pins, needles and thread
- ¼ on an inch foot (sewing machine)
Stained Quilt Pattern Requirements
For this pattern, I’ll need:
- Charm Pack with different color fabrics
- Black Fabric for the frame
- Blak Fusible bias tape
Step 1: Making groups of 4 squares
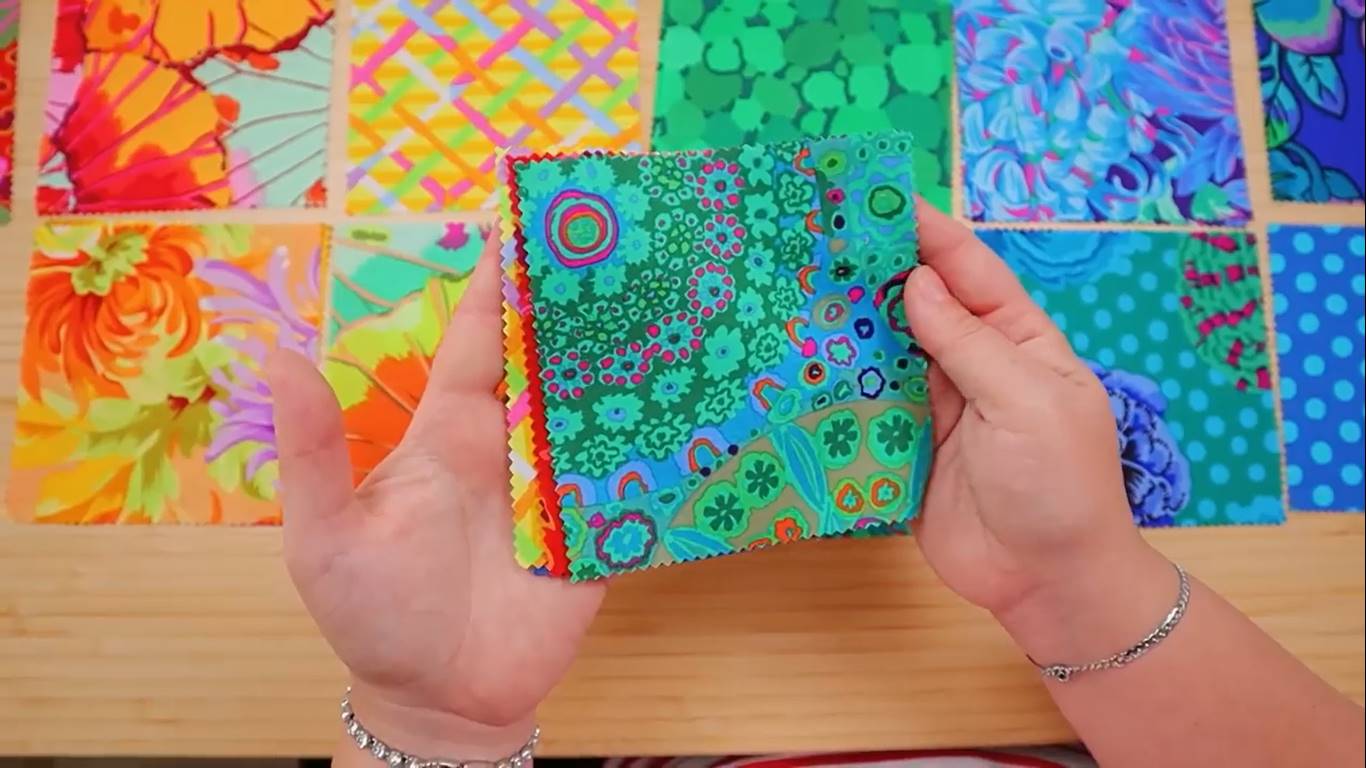
Ok, let’s get started!
I’ve got my lovely charm pack right here, rainbow colors, so pretty.
First thing is to create groups of 4 squares with big contrasts.
So 40 squares from the charm pack means 10 groups!
Step 2: Cutting the squares into 4 pieces
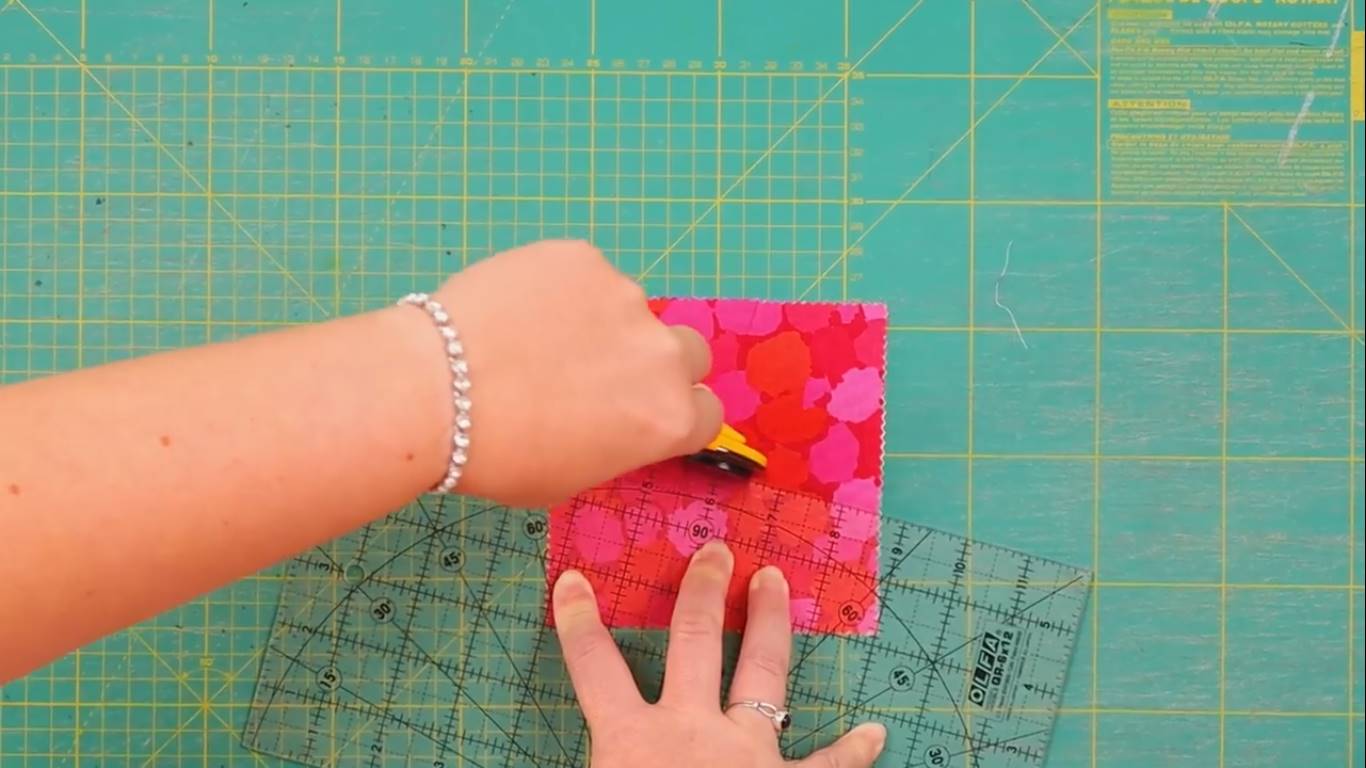
Time for nerves of steel!
We take each group, stack the 4 squares up as perfectly as we possibly can and se make 2 cuts, one horizontal and one vertical.
Ideally, as you go through the groups, pick different placings for your cuts, more or less diagonal.
But the time you’re done cutting you’ll have your squar divided into 4 pieces each.
Step 3: Mismatching the pieces
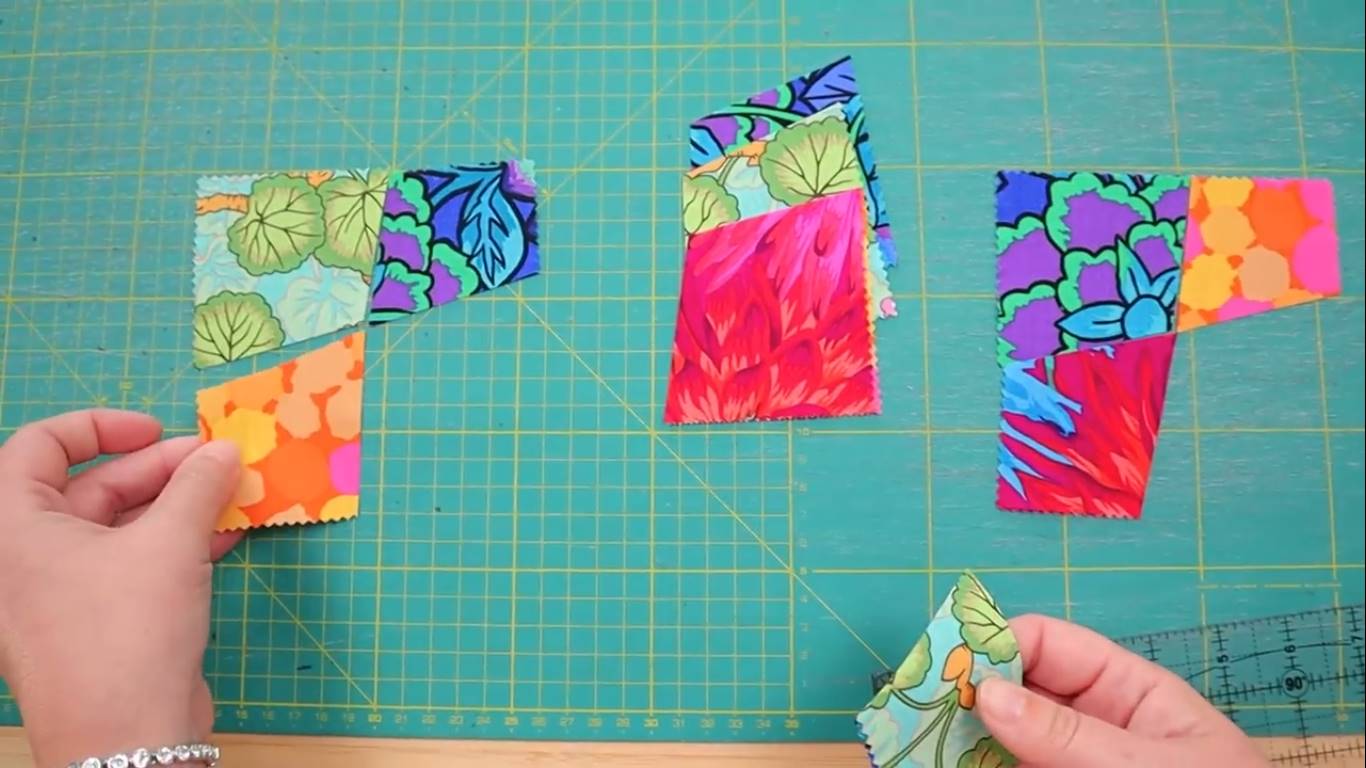
Time to have fun!
We take one piece from each of the 4 squares in each group and we mismatch them.
By the time we’re done we’ll have a brand new square made out of parts from square 1, 2, 3 and 4.
Step 4: Sewing the pieces together
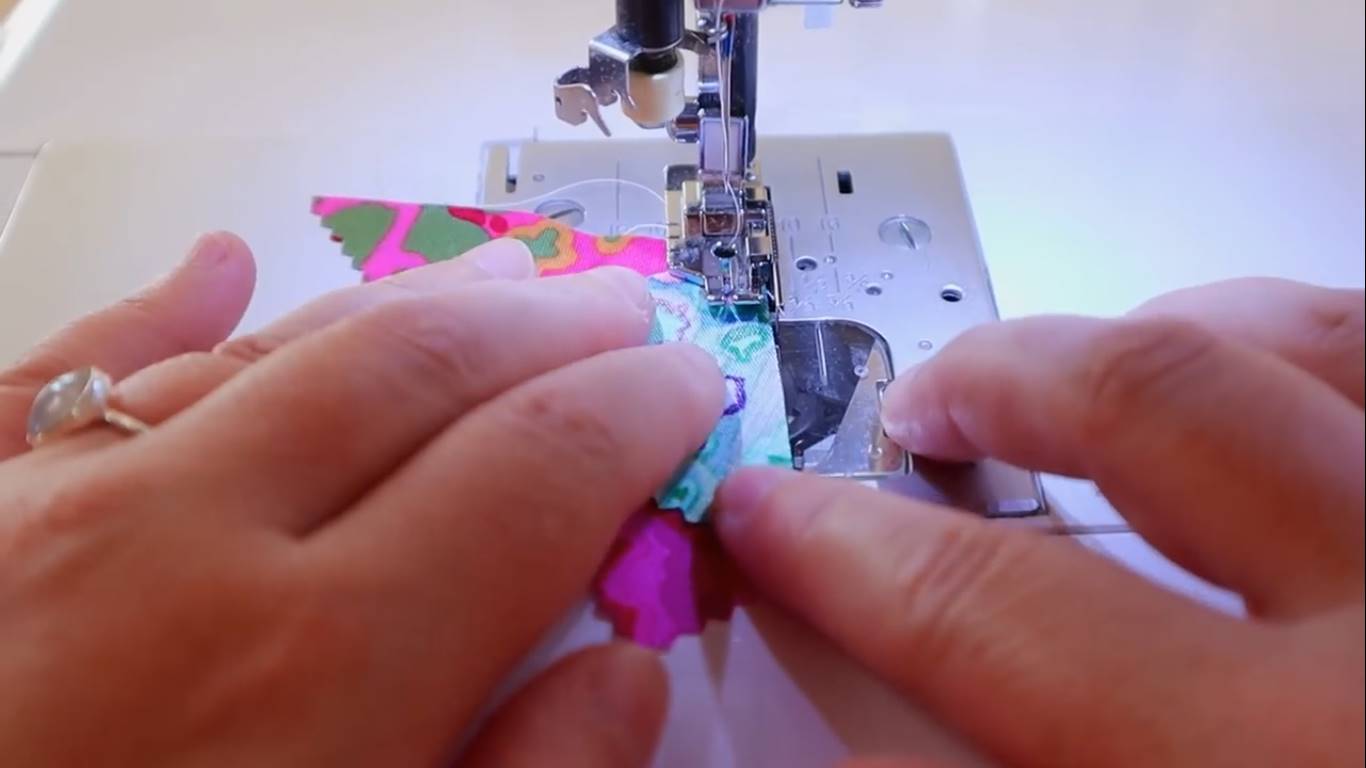
Next step is sewing the 4 pieces together, creating a brand new patchwork square.
Now… a word of warning… your new square, as is, may look pretty bad.
But don’t worry! That’s the seam allowances creatic chaos, it will all look lovely before we’re done!
Step 5: Pressing the squares
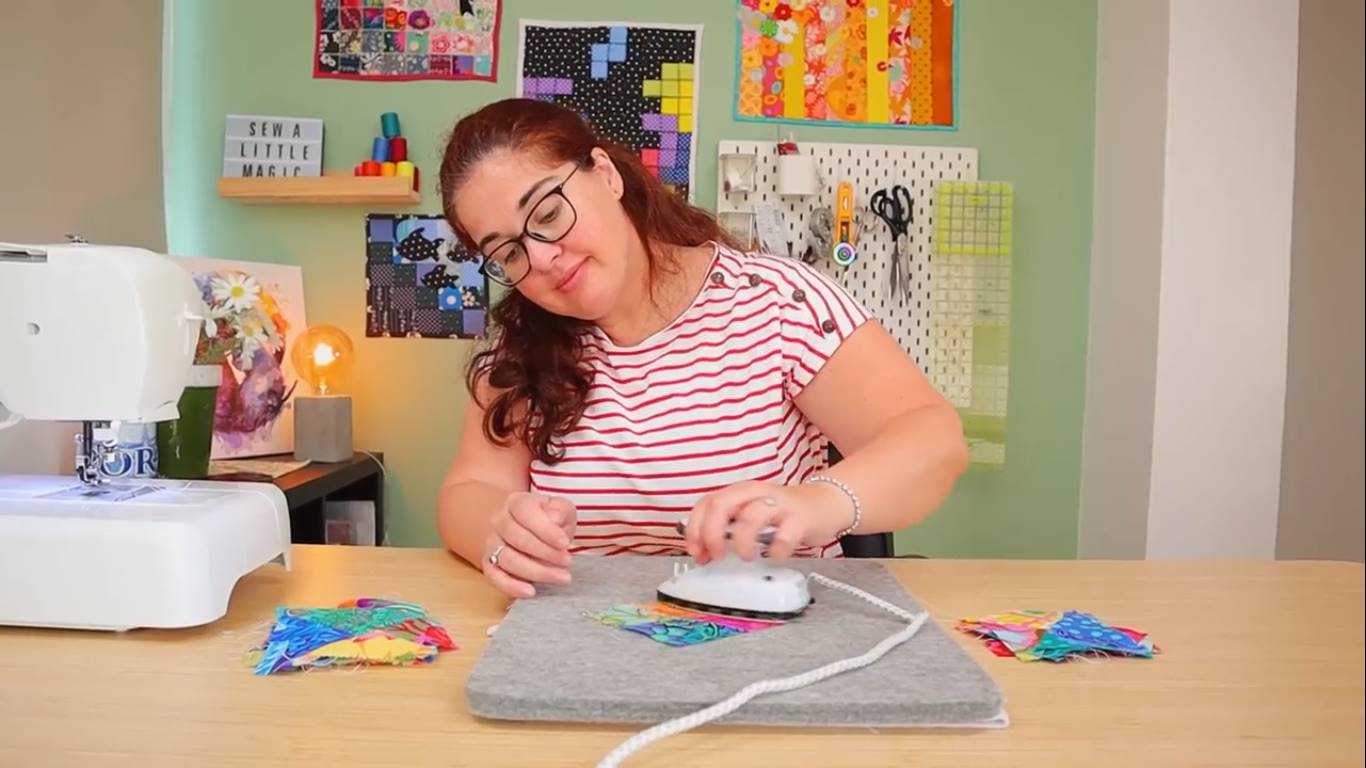
Before anything else, we need to press our Frankenstein squares to make sure we know what we’re working with.
Remember, press, don’t iron.
We don’t want wonky, bent squares.
Step 6: Trimming the squares
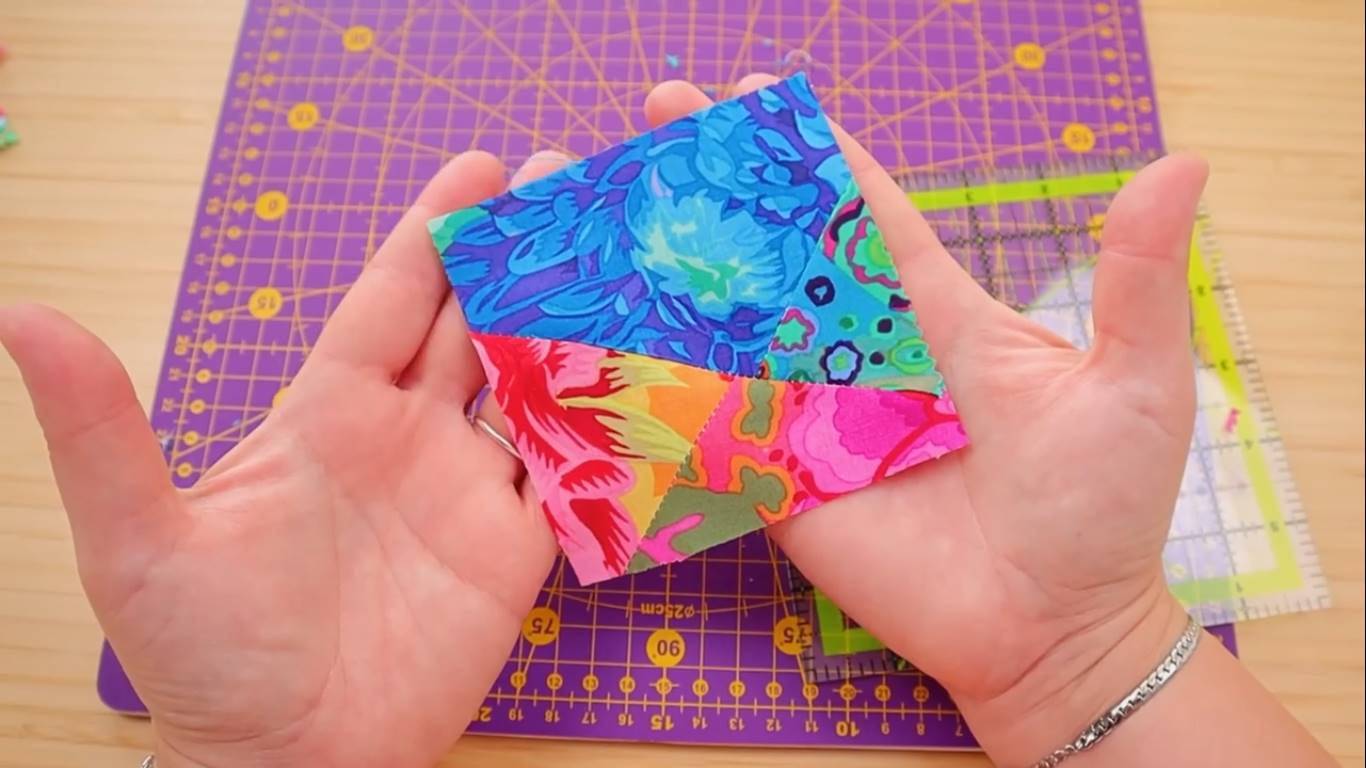
Because now is time to trim them back into shape!
The original charm pack squares were 5 inches each, this newly trimmed square is 4 inches.
How perfect does that look?
Step 7: Making the puzzle
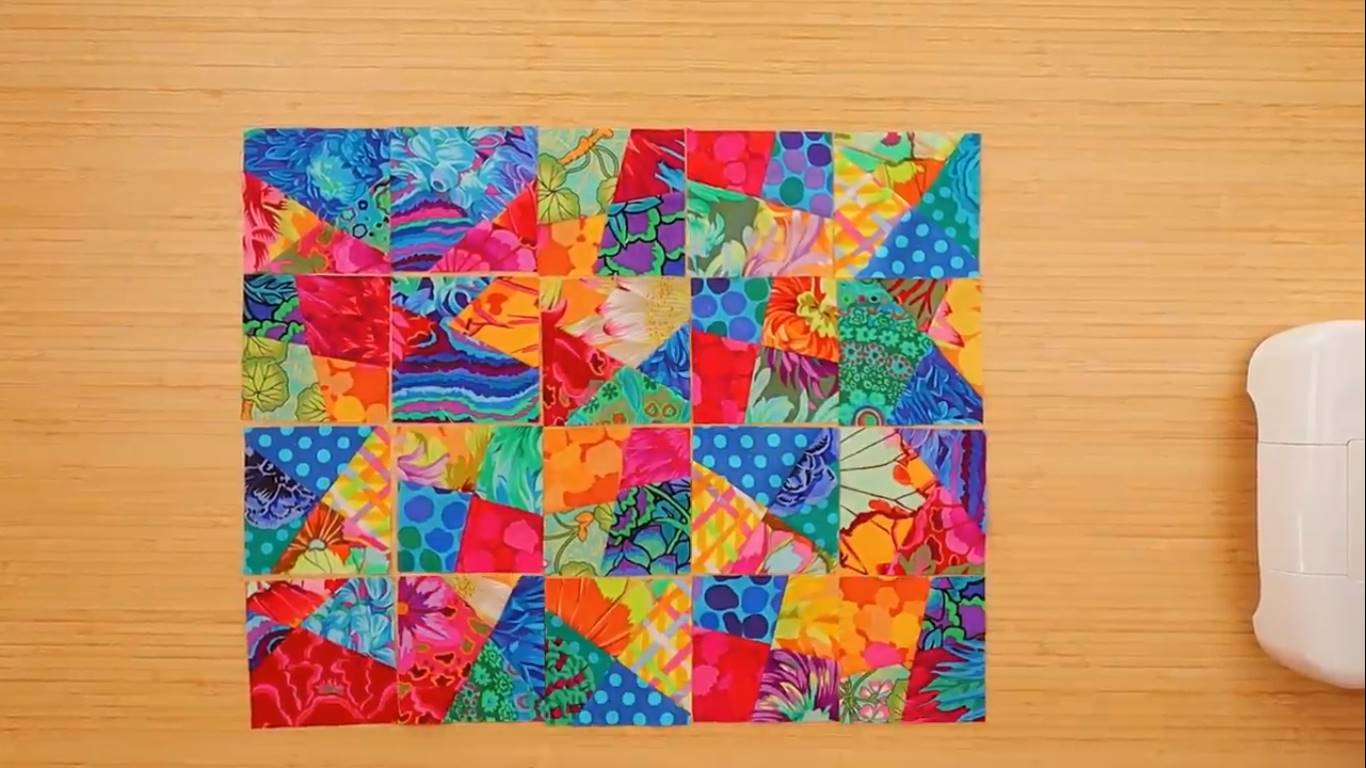
Our squares are looking pretty great and colorful, time to puzzle!
And, once again, we want to mismatch our fabrics as much as we possibly can.
So, no same fabrics touching.
Also, no same shapes touching either or posittioned the same next to each other, if at all possible.
For example, if you have a square with a bigger piece on top, if the square next to that also has a big piecce, you want to turn the square so that piece moves to the side.
Step 8: Joining the squares
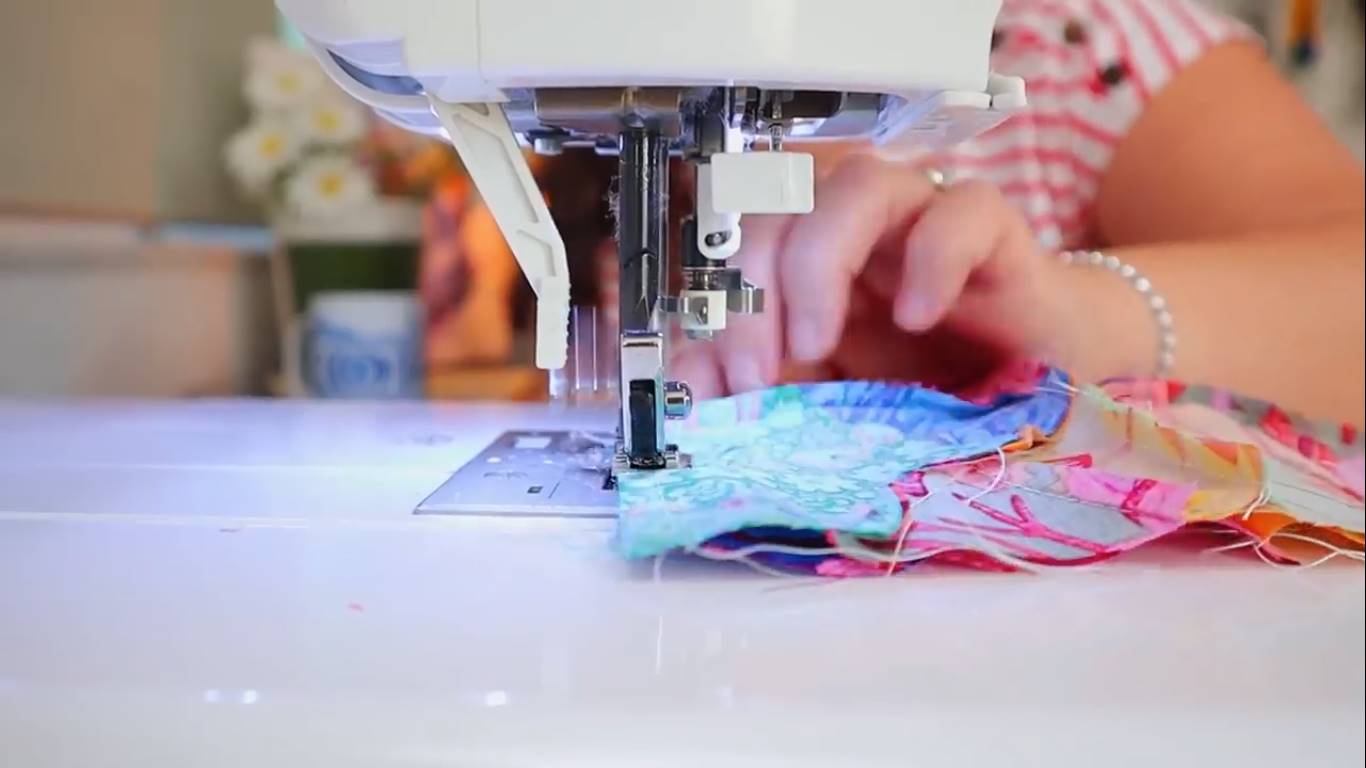
And once you’re happy with your square placement, it’s time to sew it all together.
Be careful to nest the seams as you join your rows of squares to make sure our stained glass quilt top remains flat.
Step 9: Adding the bias tape
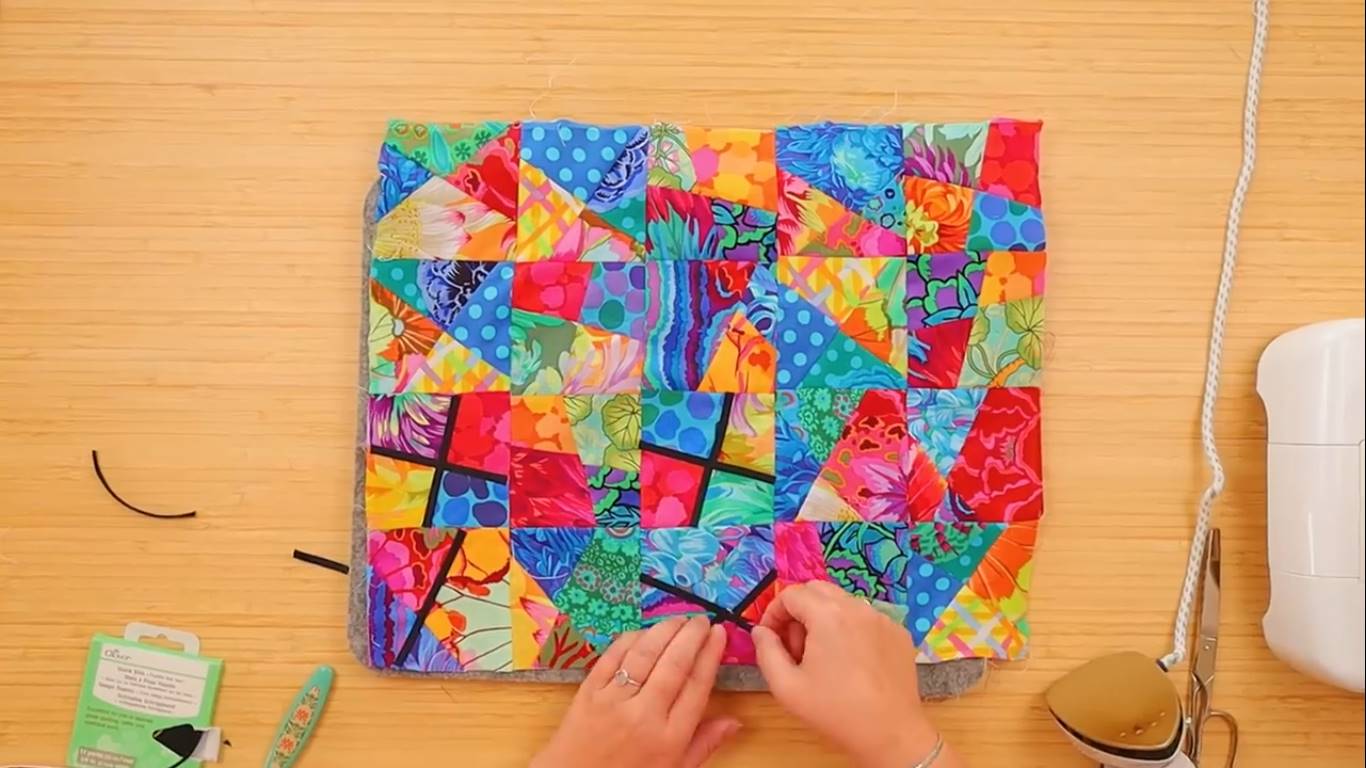
Now that we’ve sewn, our quilt top look pretty great but as is, it’s a patchwork quilt, not a stained glass quilt.
And that’s when we get our stained glass bias tape.
This is fusible black bias tape.
All it requires is removing the protection tape on the back, placing the tape where you want it and press with your iron until it’s nice and fused.
We want to cover all our seams, the ones inside the quilt blocks as well as the seams joining the blocks together.
Step 10: Sewing the bias tape
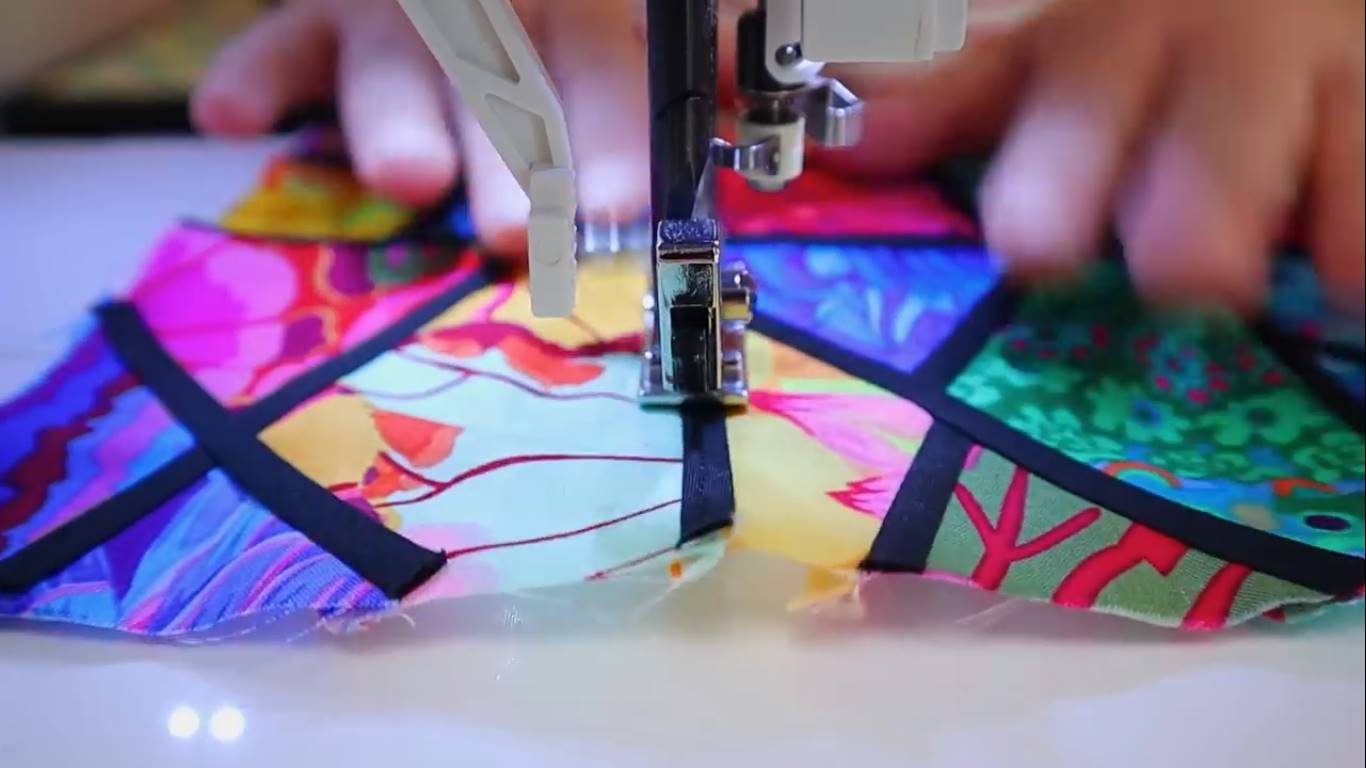
This is an extra step I like to take to ensure durability.
I’m sewing the fused bias tape onto the quilt top because I want to make sure it will never fall apart, even if I wash it.
If your sewing maching allows a double needle, you can sew it with a double stitch, it is the perfect way to do it.
If not, just add a seam on top of the bias tape to keep it in place.
Step 11: Adding the black frame
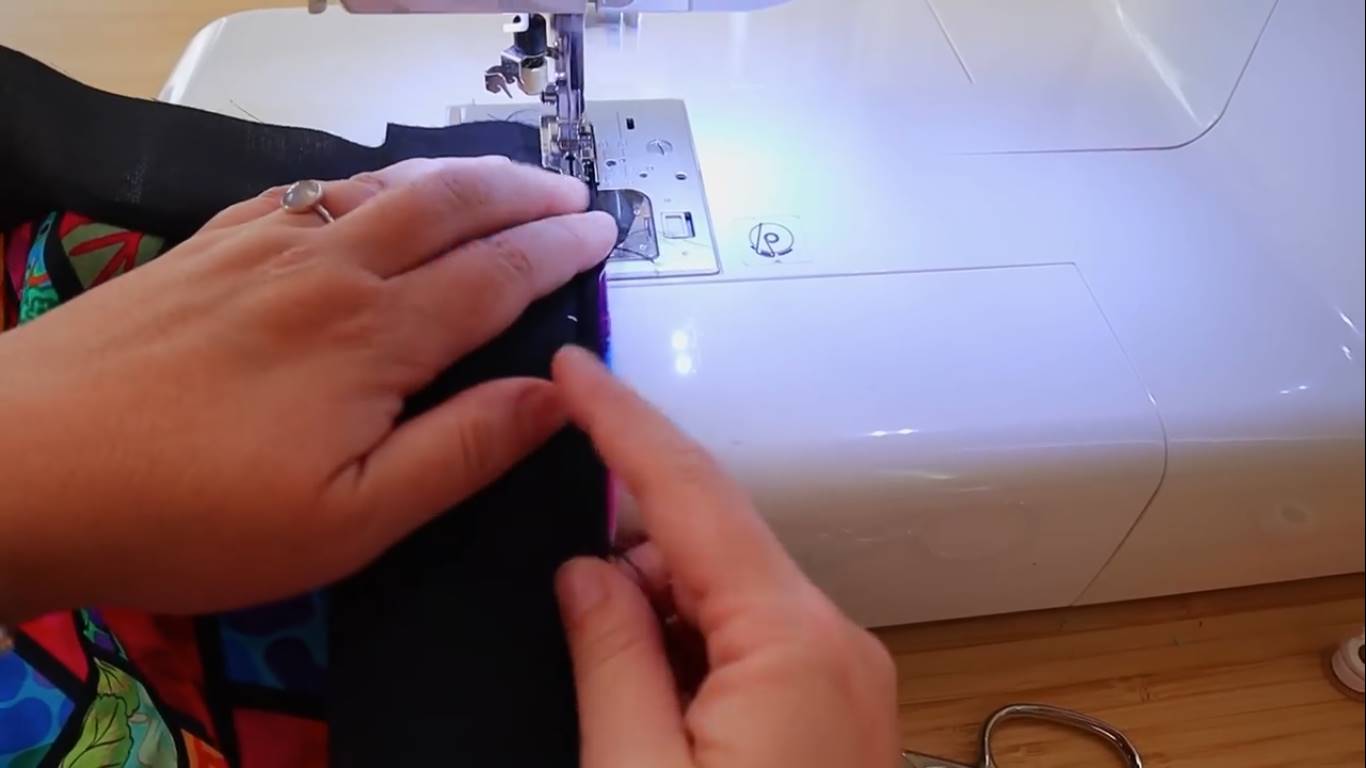
Almost there guys!
This is a stained glass quilt top, so I figured it needs to look like a window because that’s where we find stained glass, right?
So I’ve just cut a 3 inch black strip of fabric and added it all around our stained glass loveliness.
Just that extra touch that I think makes a world of difference.
Step 12: And that’s it!
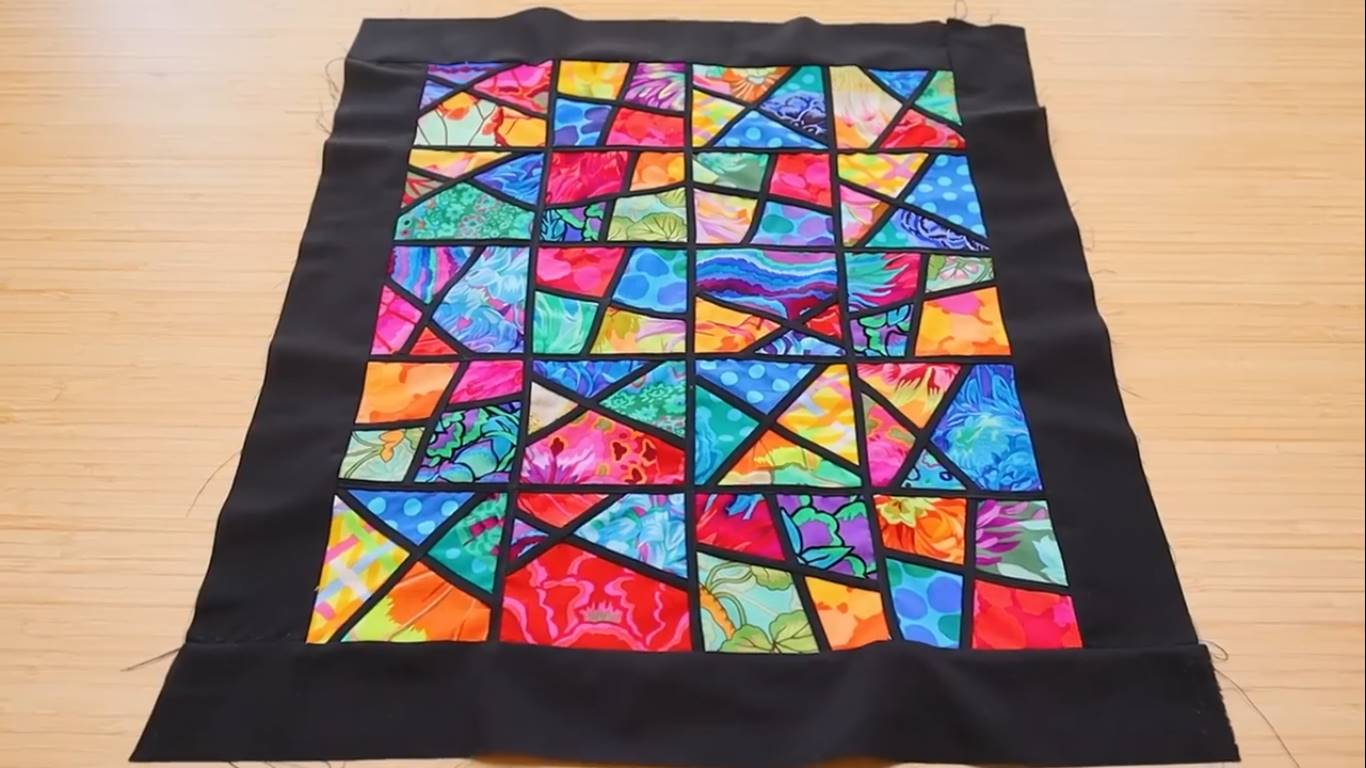
And before you know it, we’re done!
Our stained glass window is complete and looking stunning.
Lovely and easy, as promised, no hard steps in sight!
Watch the full tutorial!
Guys, how much fun was that?
And how easy and amazing is it to make a Stained Glass Quilt Top?
And if you want to watch the video of this fun and easy project getting made, here it is!
Most Recent Projects
How to Make 3D Tumbling Quilt Blocks (No Y-Seams)
Today we’re a making tumbling blocks! And that...
5 Practical Ways to Use Ugly Fabrics
Today I’m making a quilt using only ugly fabric....
Easy Watercolor Quilt Pattern Ideas
Today I'm making an easy watercolor quilt...

About Me
I am a content creator, designer and maker of quilts and a hopeless cat lady. Being able to share all I know with you is a kind of magic I have never experienced before!

